How to Use Local MCP
Step 1: Enable Local MCP in Pixso Desktop
- Install and sign in to Pixso desktop (version
>= 2.2.0) - Create or open a design file in Pixso desktop
- In the file menu (top-left), find and enable Pixso MCP
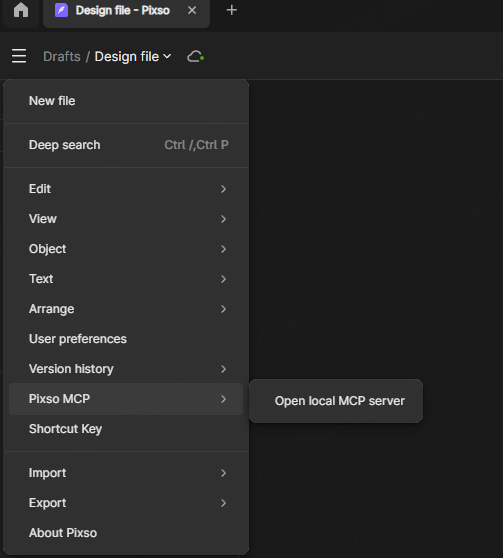
After enabling Pixso MCP successfully, you will see a confirmation message at the bottom of the canvas.
The local endpoint of Pixso MCP server is: http://127.0.0.1:3667/mcp
Transport Protocol
Local Pixso MCP only supports HTTP / Streamable HTTP, and does not support SSE.
Step 2: Configure in Your MCP Client
Claude Code (CLI)
Run this command in terminal:
bash
claude mcp add --transport http pixso-desktop http://127.0.0.1:3667/mcpCursor
- Open Cursor -> Cursor Settings -> MCP & Integrations
- In MCP Tools, click New MCP Server
- Use any name (for example
Pixso MCP), selecthttp, and set URL tohttp://127.0.0.1:3667/mcp - Or edit
mcp.jsondirectly:json{ "mcpServers": { "Pixso MCP": { "url": "http://127.0.0.1:3667/mcp", "headers": {} } } } - Save and click start in the settings panel
Cline (VS Code and others)
- In Cline sidebar, click MCP Servers (or click "Configure MCP Servers" under Configure tab)
- It opens
cline_mcp_settings.json - Add a Streamable HTTP MCP server config:json
{ "mcpServers": { "pixso-mcp": { "type": "streamableHttp", "url": "http://127.0.0.1:3667/mcp" } } } - Save the file, and Cline will connect automatically
Trae IDE
Trae v1.3.0+ supports MCP natively.
- Configure project-level
.trae/mcp.jsonor global~/.cursor/mcp.json(Trae-compatible directory) - Add an MCP service:json
{ "mcpServers": { "pixso": { "url": "http://127.0.0.1:3667/mcp" } } } - Restart Trae or refresh in MCP panel
Kiro
- Open Kiro config: global
~/.kiro/settings/mcp.jsonor workspace.kiro/settings/mcp.json - Add Pixso MCP config:json
{ "mcpServers": { "pixso-mcp": { "url": "http://127.0.0.1:3667/mcp" } } } - (Optional) Add
"autoApprove": ["getCode", "getNodeDSL"]to reduce permission prompts, then reload Kiro
Windsurf
- Open Windsurf settings -> MCP Servers -> Manage MCPs
- Click View raw config to open
mcp_config.json - Add config:json
{ "mcpServers": { "pixso": { "serverUrl": "http://127.0.0.1:3667/mcp" } } } - Refresh in settings panel; a green status means connected
Step 3: Chat in MCP Client
After your MCP client is connected to Pixso MCP server, you can start using it in conversations.
Pixso MCP supports two ways to get design data:
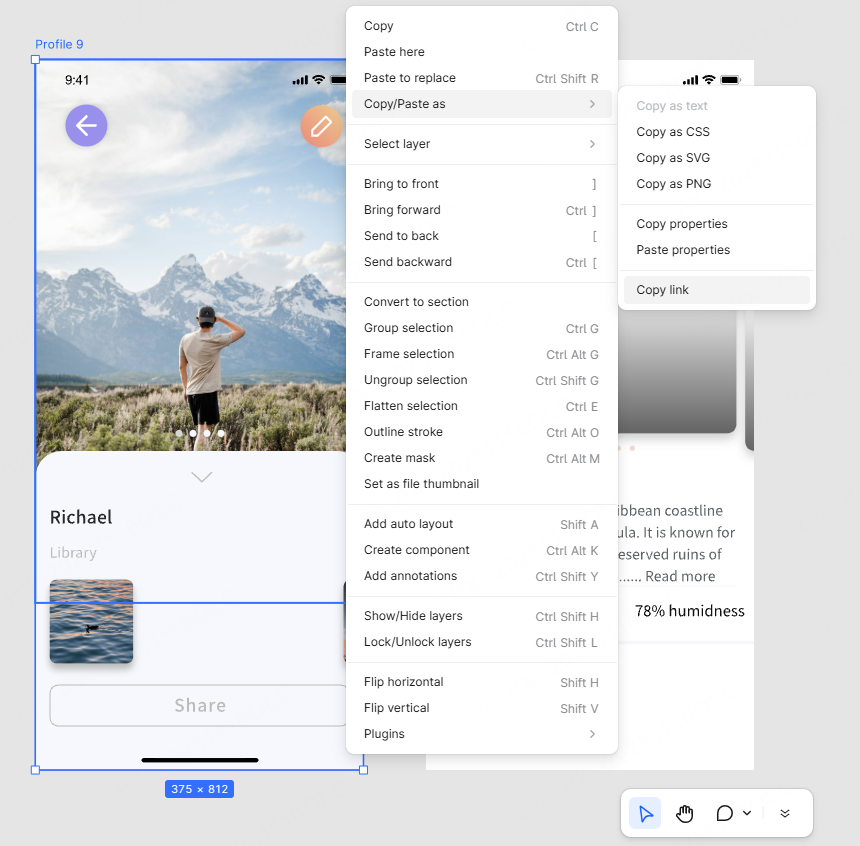
Copy Layer Link
Notes
The layer link is not a file share link and not a page link.
The item-id in the link helps the agent locate the exact target layer.
- Open a design file in Pixso desktop
- Select a container layer and copy its layer link
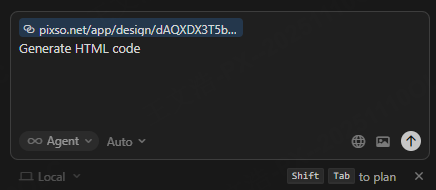
- In your IDE client (such as Cursor), paste the link in chat and provide instructions (for example: generate HTML code)
Paste the link into the agent chat box.
Select Container on Canvas
- Open a design file in Pixso desktop
- Select a single container layer on the canvas
- In your IDE client (such as Cursor), start chatting (for example: generate HTML code)
Notes
- To keep MCP connection stable:
- Keep Pixso desktop open
- Keep the design file tab containing the selected container active
- Use advanced models (such as Claude-4.6-sonnet)