Scott
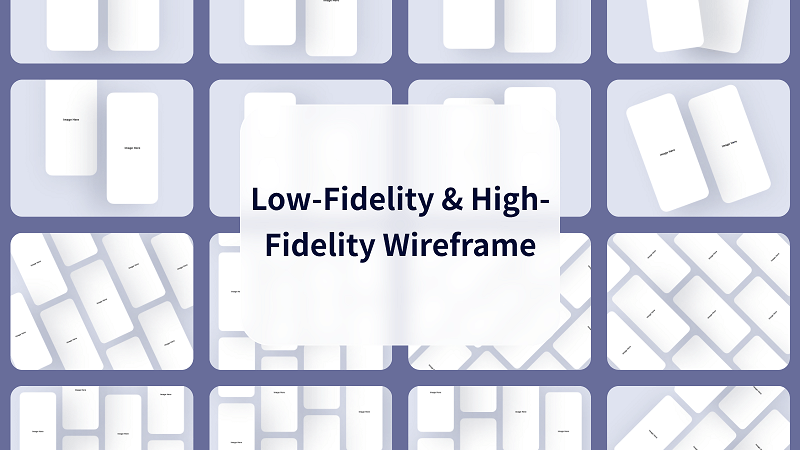
In UI design, wireframes represent a clear view of a user interface. It illustrates a structural layout and depicts the functionality of user flow. Wireframes can be drawn by hand or by using digital tools. But here is a catch. How much detail and concept does a designer need to include in a typical wireframe before handing it out to important stakeholders? This is what we refer to as fidelity.
In this blog, we will dive deep into the two types of wireframes—low fidelity wireframes and high fidelity wireframes. We will understand their characteristics and know when to use a low fidelity wireframe and when to go high.
Part 1. Everything You Need to Know About Low Fidelity Wireframe
Before designing a landing page, ensure you know what the goal of your landing page is. Are you looking to collect prospects’ email addresses to grow a mailing list? Or are you looking to offer your product and convert the prospect into a buying customer? Knowing this, you can design landing page templates that cater to your goal and purpose.
1.1 What is a low fidelity wireframe?
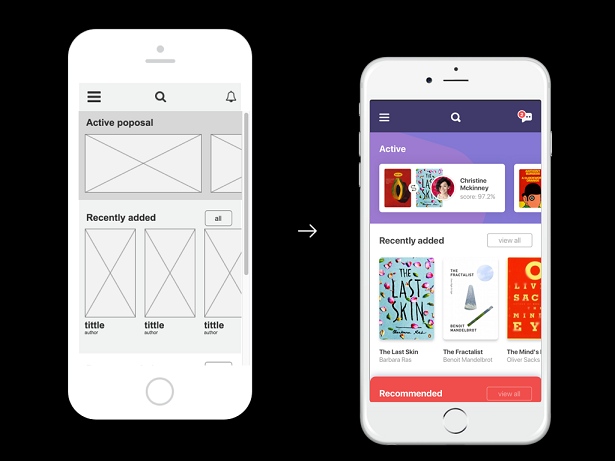
A low-fidelity wireframe is simply a skeleton version of a UI screen, web page, or application user flow. They are your basic black-and-white rough sketch that gives designers a good idea of where to scale their wireframes to the next level. It provides designers with a basic framework of where to place UI components like images, buttons, and text.
1.2 Characteristics of a low fidelity wireframe
Low-fidelity wireframes are easier and faster to produce as it requires less detail. As a result, designers can produce up to 5-10 wireframes in a day when following a basic UI structure and only providing minimalistic details relating to the project. Because of its simplistic process and less detail, it gives room for designers to implement multiple variations to their low-fidelity wireframes if certain components don’t meet the stakeholder’s requirements. Designers can produce numerous variations in a short amount of time, thus, making low fidelity wireframes the best wireframing technique for scalability.
However, there are some cons to it. One is because it has less detail present, it provides less context as a result. Less context means less clarity and it may not feel pleasing to the eyes of stakeholders if they don’t buy into what you’re trying to create. Another is because of its simplistic and efficient nature, low-fidelity wireframing could turn out to be a tedious task down the road when you require to put extra effort into generating numerous wireframes in a short amount of time.
Part 2. Everything You Need to Know About High Fidelity Wireframe
Now, let us go through some of the best landing page examples and understand how each one works in its unique way to get more conversions:
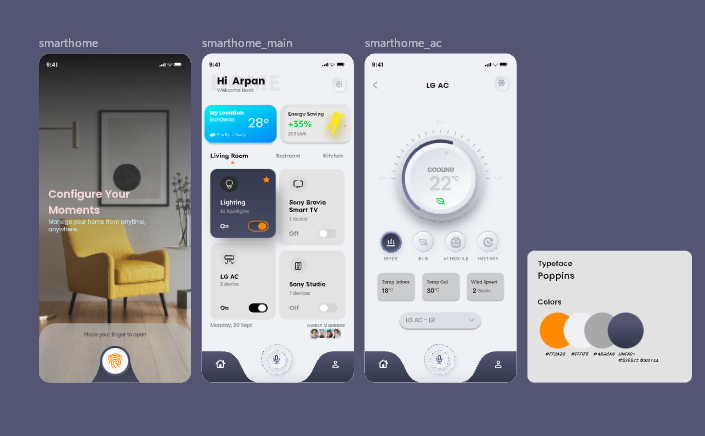
2.1 What is a high fidelity wireframe?
Since low fidelity wireframes are the skeleton version, high fidelity wireframes are the nearly finished model that depicts a realistic prototype. In most cases, high-fidelity wireframes include color and other detailed UI elements and components. Its color, typography, and other visual hierarchy are clear and they’re mainly used by designers to show their polished model of an app or web page to stakeholders.
2.2 Characteristics of a high fidelity wireframe
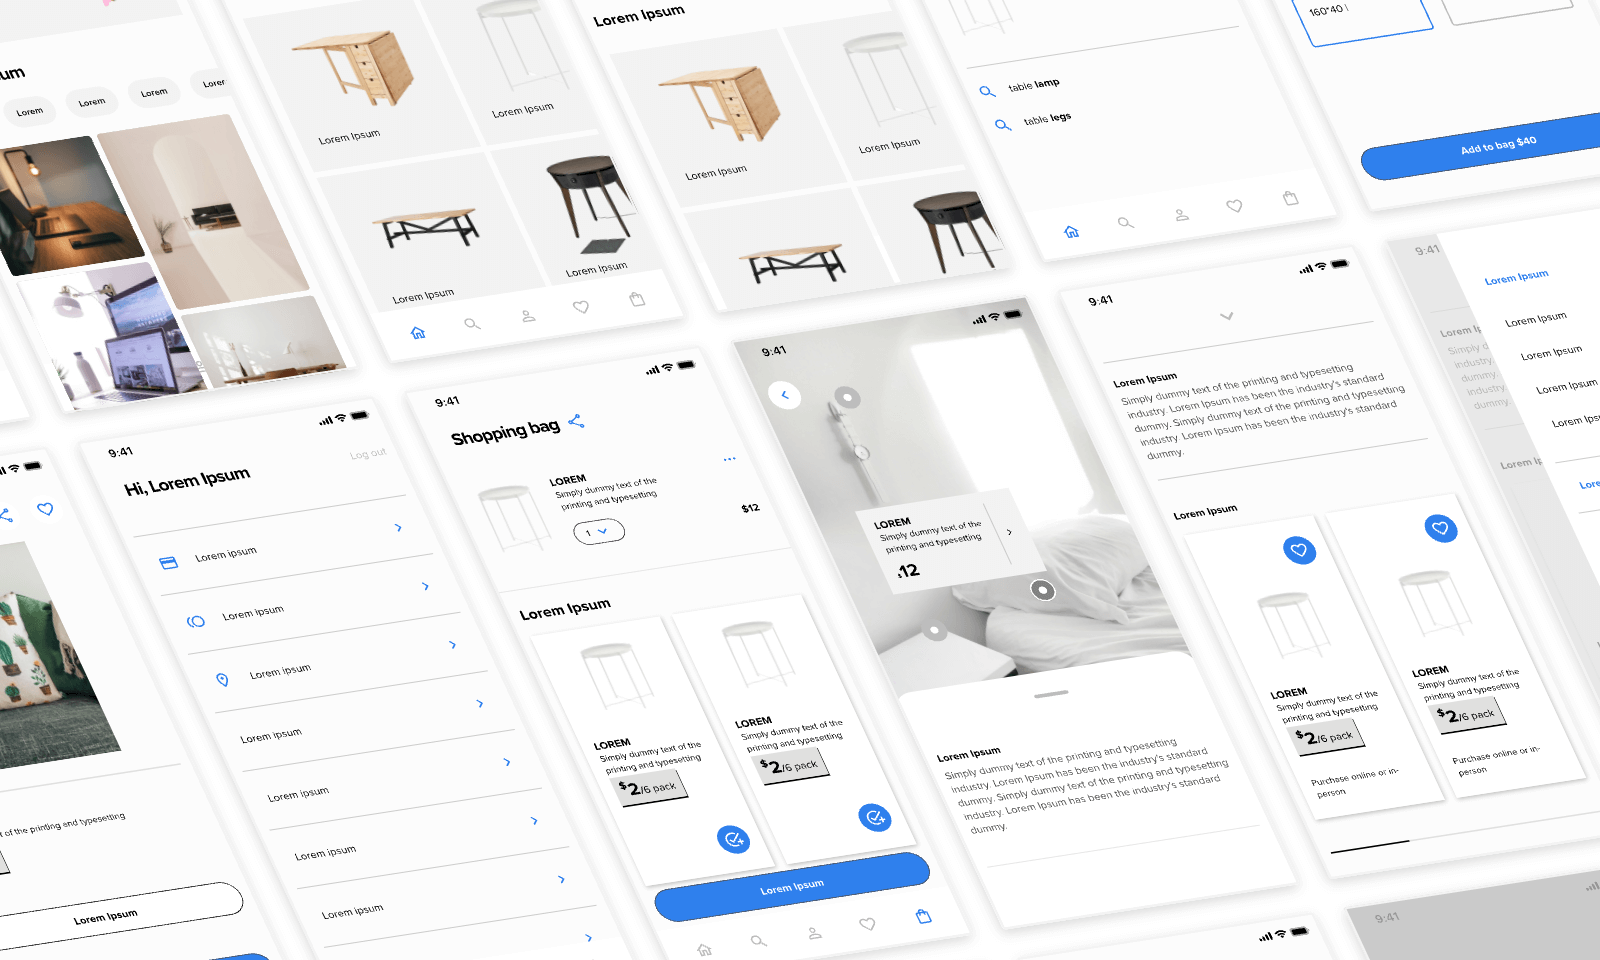
Unlike low-fidelity prototypes, high-fidelity ones have more detail present. As a result, it provides more context and clarity to stakeholders when handing it out. Because of its detailed structure, it will be subjected to fewer variations as stakeholders are more likely to be impressed and accept high-fidelity mock-ups as designers have put enough context to convince them.
The downside of this wireframe is it will obviously take more time to produce compared to a low-fidelity one. Adding all those UI elements, colors, and other components could take up a lot more hours in a given day. Moreover, it will be difficult to implement variations to a high fidelity wireframe when compared to its low fidelity counterpart as designers need to sketch the whole UI design from scratch.
Part 3. Low Fidelity Wireframe VS High Fidelity Wireframe: Which is Important?
Frankly speaking, both wireframes are crucial to both designers and stakeholders. It all depends on the context and nature of the project, however. Let us go through when it is best to use a low fidelity versus when to use a high fidelity one.
3.1 When to use a low fidelity wireframe?
Low fidelity wireframing is best used during the ideation process where designers can put through simplistic design thinking and craft a basic framework to scale on later. It is also useful when defining top-level requirements because lo-fi wireframes avoid overthinking and enhance a designer’s exploration stage.
Furthermore, since it takes less time to produce, it can be best utilized in design sprints where less turnaround time is required to hand off wireframes to developers or other important stakeholders.
3.2 When to use a high fidelity wireframe?
Since hi-fi wireframing provides more detail and context, it is best utilized as a market research and validation tool. Users will have more clarity when looking at a hi-fi wireframe compared to a lo-fi one. As a result, designers can gain honest and extensive insights from users.
Furthermore, high-fidelity wireframing is a perfect pitching tool to convince important stakeholders and sell your ideas. Since it provides greater details, it can be useful to stakeholders who aren’t experts in assessing lo-fi wireframes and require to see a realistic prototype model to be convinced.
Part 4. How to Create Low Fidelity and High Fidelity Wireframes with Pixso
With Pixso, you can create low fidelity and high fidelity wireframes with ease. Pixso supports importing various design files from Figma to Sketch. Moreover, Pixso offers free unlimited files and templates for teams to work on design projects together.
Let us explore how you can get started in making a simple wireframe on Pixso:
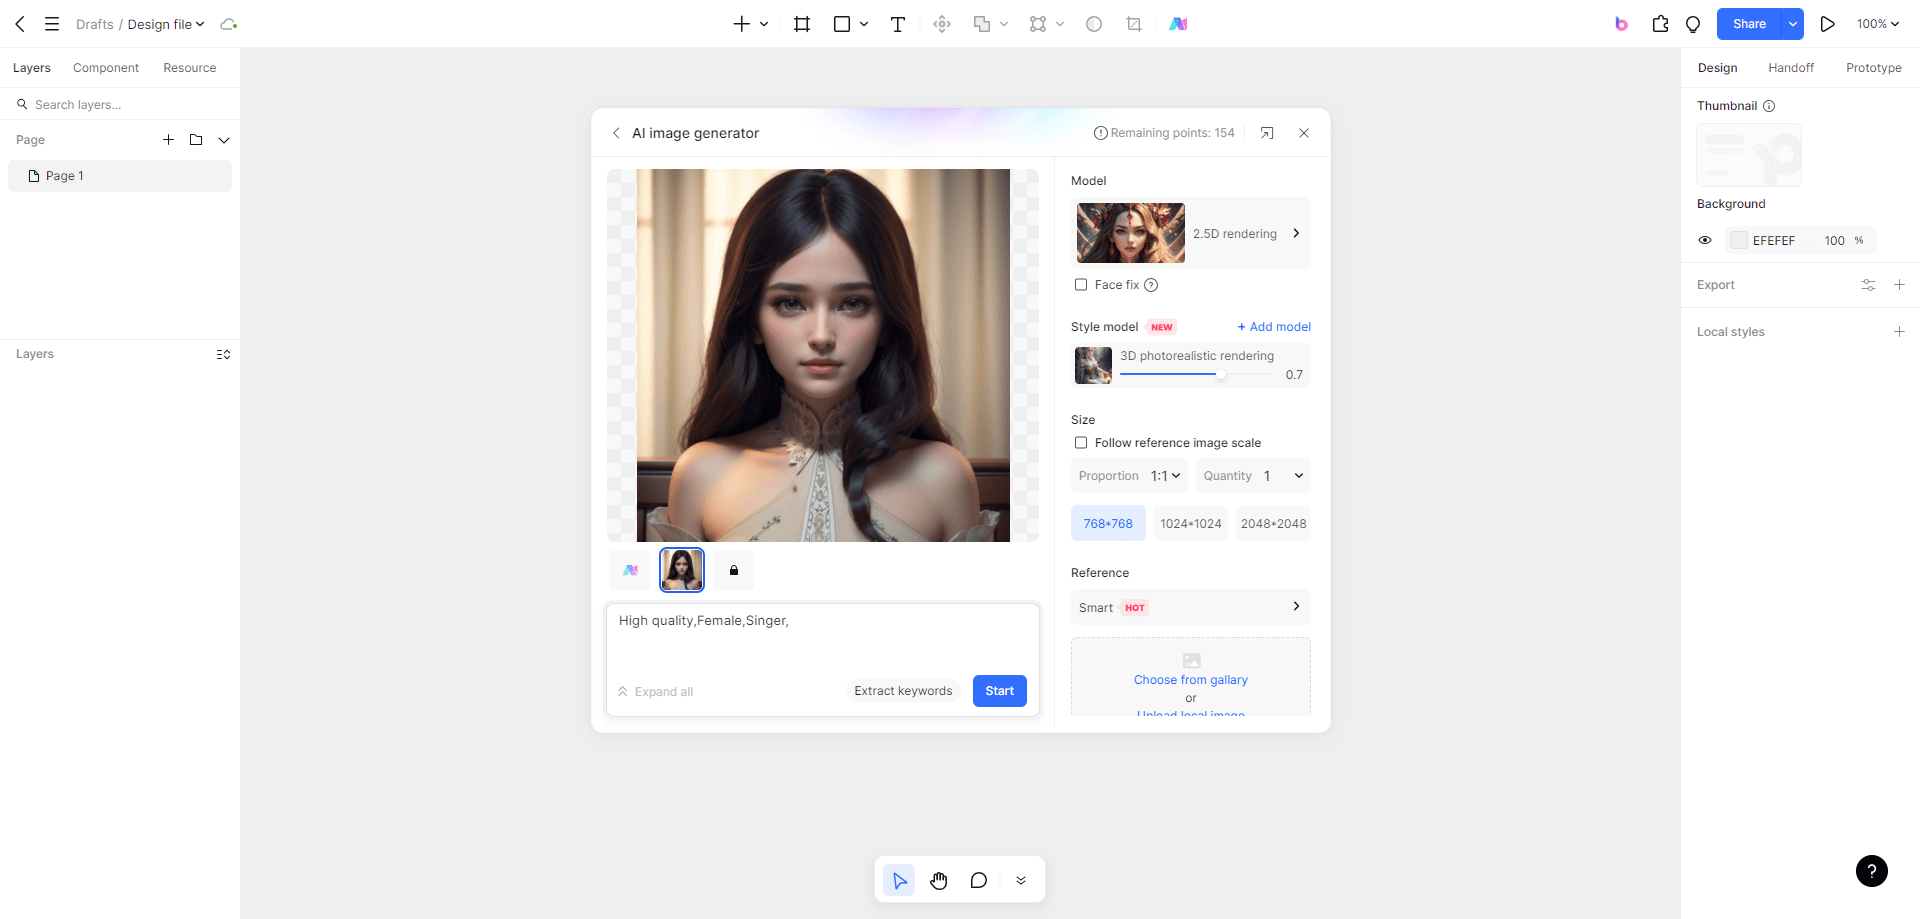
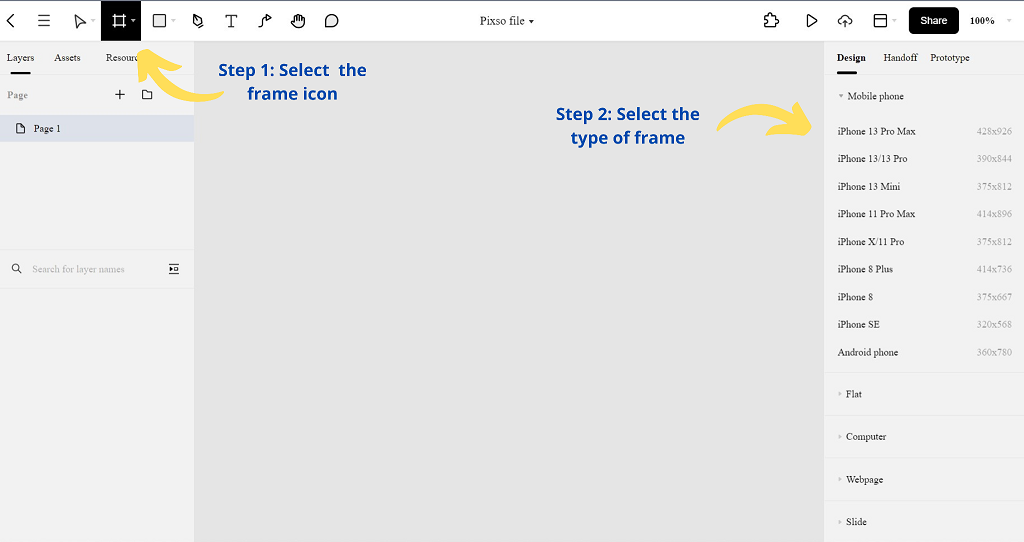
Step 1. Open your Pixso file, and select the Frame icon.
Step 2. On the right-hand side panel, you can select the appropriate frame you require for your design project.
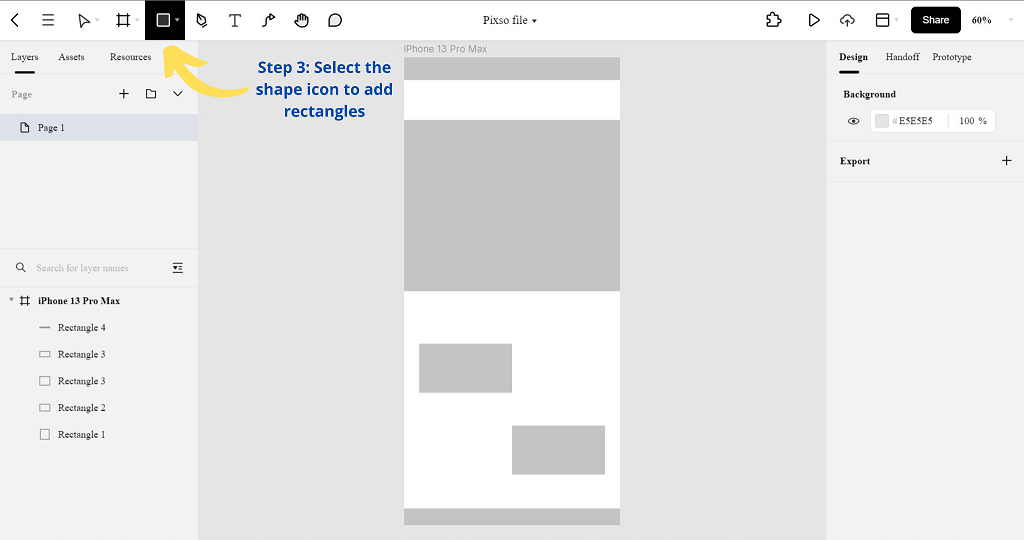
Step 3. Once you have selected the frame, head to the Shape tool and select a rectangle to make a navigation menu, buttons, and other layers in your wireframe.
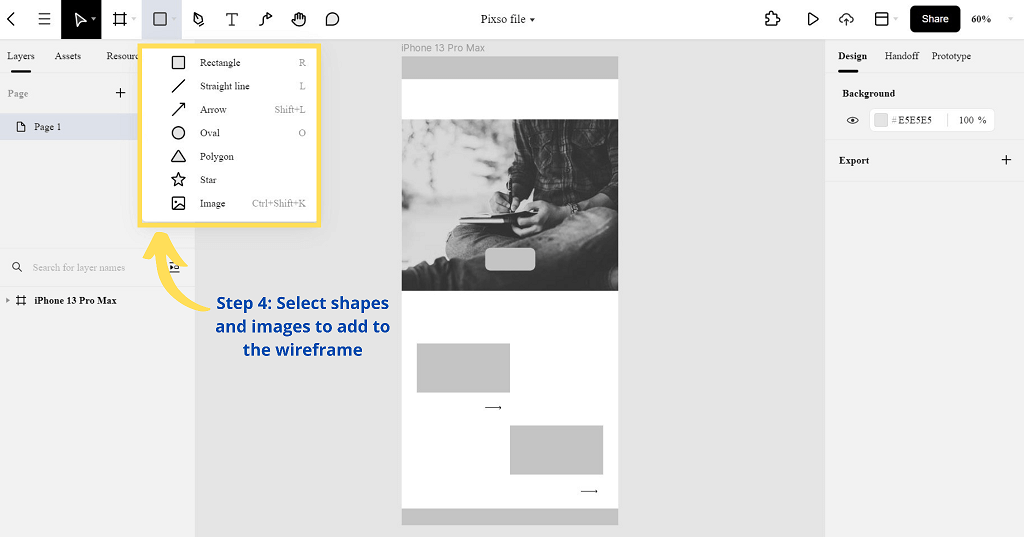
Step 4. Furthermore, you can add different shapes and images to add more detail to your wireframe.
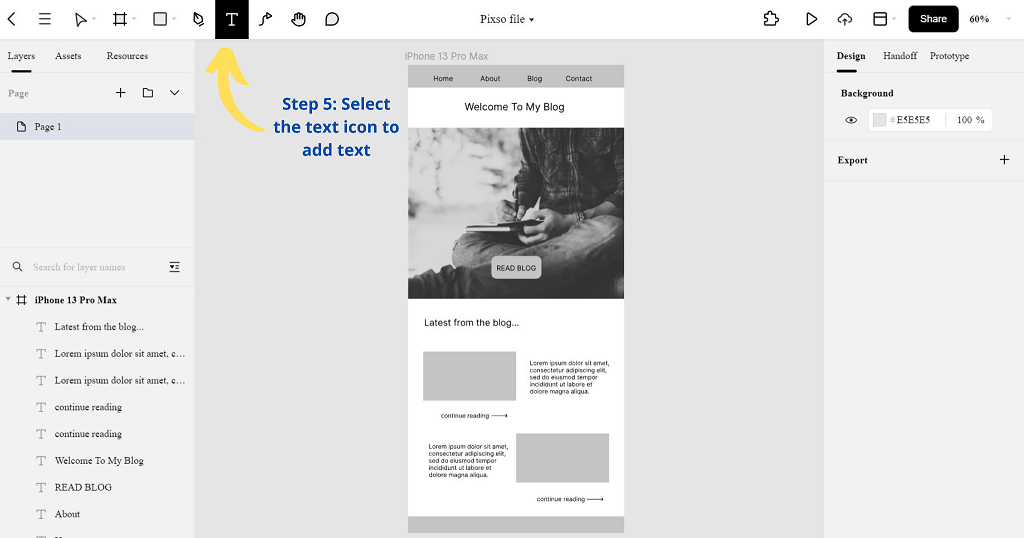
Step 5. Then, select the Text icon and add text to your wireframe.
Step 6. Now, you will have a rough sketch of your lo-fi wireframe. Explore all of Pixso’s tools well, make use of more shapes, icons, and colors to scale your wireframe, and develop it into a hi-fi wireframe.
Make Use of Both Wireframes…
Undoubtedly, both high fidelity and low fidelity wireframes are crucial for design projects. It all depends on when it is ideal to use either of them. For instance, we have learned it is useful to use a low-fidelity wireframe for tighter deadlines. It all depends on the nature of the project, the budget you have, and how many complex interactions you need to implement. Furthermore, it is all about convincing the stakeholders at the end of the day.
A good design strategy is by implementing both wireframes in particular stages of your design process. Low fidelity wireframes are most useful during the early ideation stages. On the other hand, high-fidelity wireframes come in handy when the project evolves and you require more intricate designs. Master creating both types of wireframes with Pixso and impress your important stakeholders with your creative thinking.