Sherry
The BETA version of Figma dev mode will start charging from January 31, 2024. This has raised concerns among some designers because it means they can no longer use the development version for free after this month. If you want to keep using the Figma design tool, you'll need to pay a small ongoing fee.
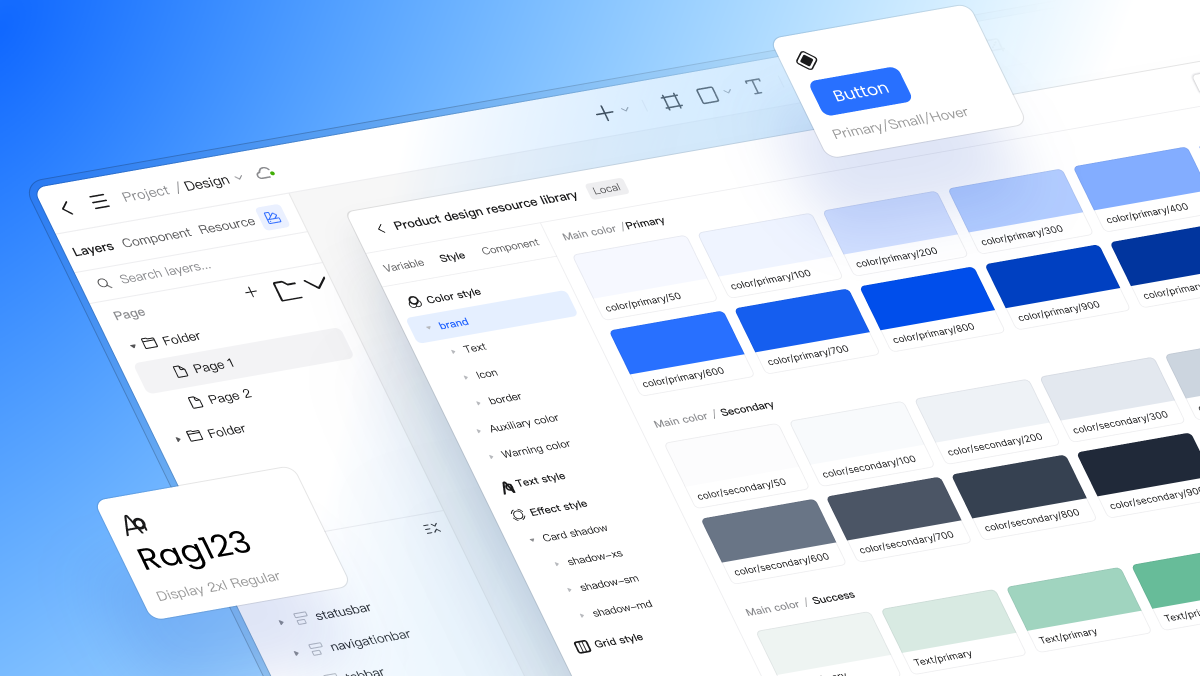
Pixso, as a free online design tool, offers an alternative to Figma dev mode, which is great news for designers on a tight budget. Pixso is fully compatible with Figma files and has its own Pixso dev mode. In this article, we'll show you how to import your Figma files into Pixso and continue your design work on the Pixso online design platform.
What is Pixso Dev Mode and How to Use?
What is Pixso Developer Mode
The Developer Mode of Pixso UI Design Tool allows developers to access advanced settings and functionalities for their design projects. When Developer Mode is enabled, developers have more control over the code and can make customizations to the design elements.
Some of the features and functionalities available in Pixso Developer Mode include:
1. Code Export: Developers can export the design project's code, including HTML, CSS, and JavaScript. This allows them to use the code in their development environment and integrate it into their website or application.
2. Custom CSS: Developers can add custom CSS styles to the design elements. This gives them the flexibility to apply specific styling and effects to meet their project requirements.
3. Responsive Design: Developers can test and adjust the responsiveness of the design project for different screen sizes and devices. This ensures that the user interface remains consistent and functional across various platforms.
4. Interaction Design: Developers can create interactive prototypes by adding animations, transitions, and interactions to the design elements. This allows them to simulate user interactions and enhance the user experience.
5. Collaboration: Developers can collaborate with designers and other team members by sharing the project code and making real-time updates. This promotes efficient workflow and seamless communication between different stakeholders.
Overall, Pixso Developer Mode empowers developers to take their designs to the next level by providing them with more flexibility, control, and collaboration opportunities. It bridges the gap between design and development, allowing for a smoother transition from concept to implementation.
How to Use Pixso Dev Mode
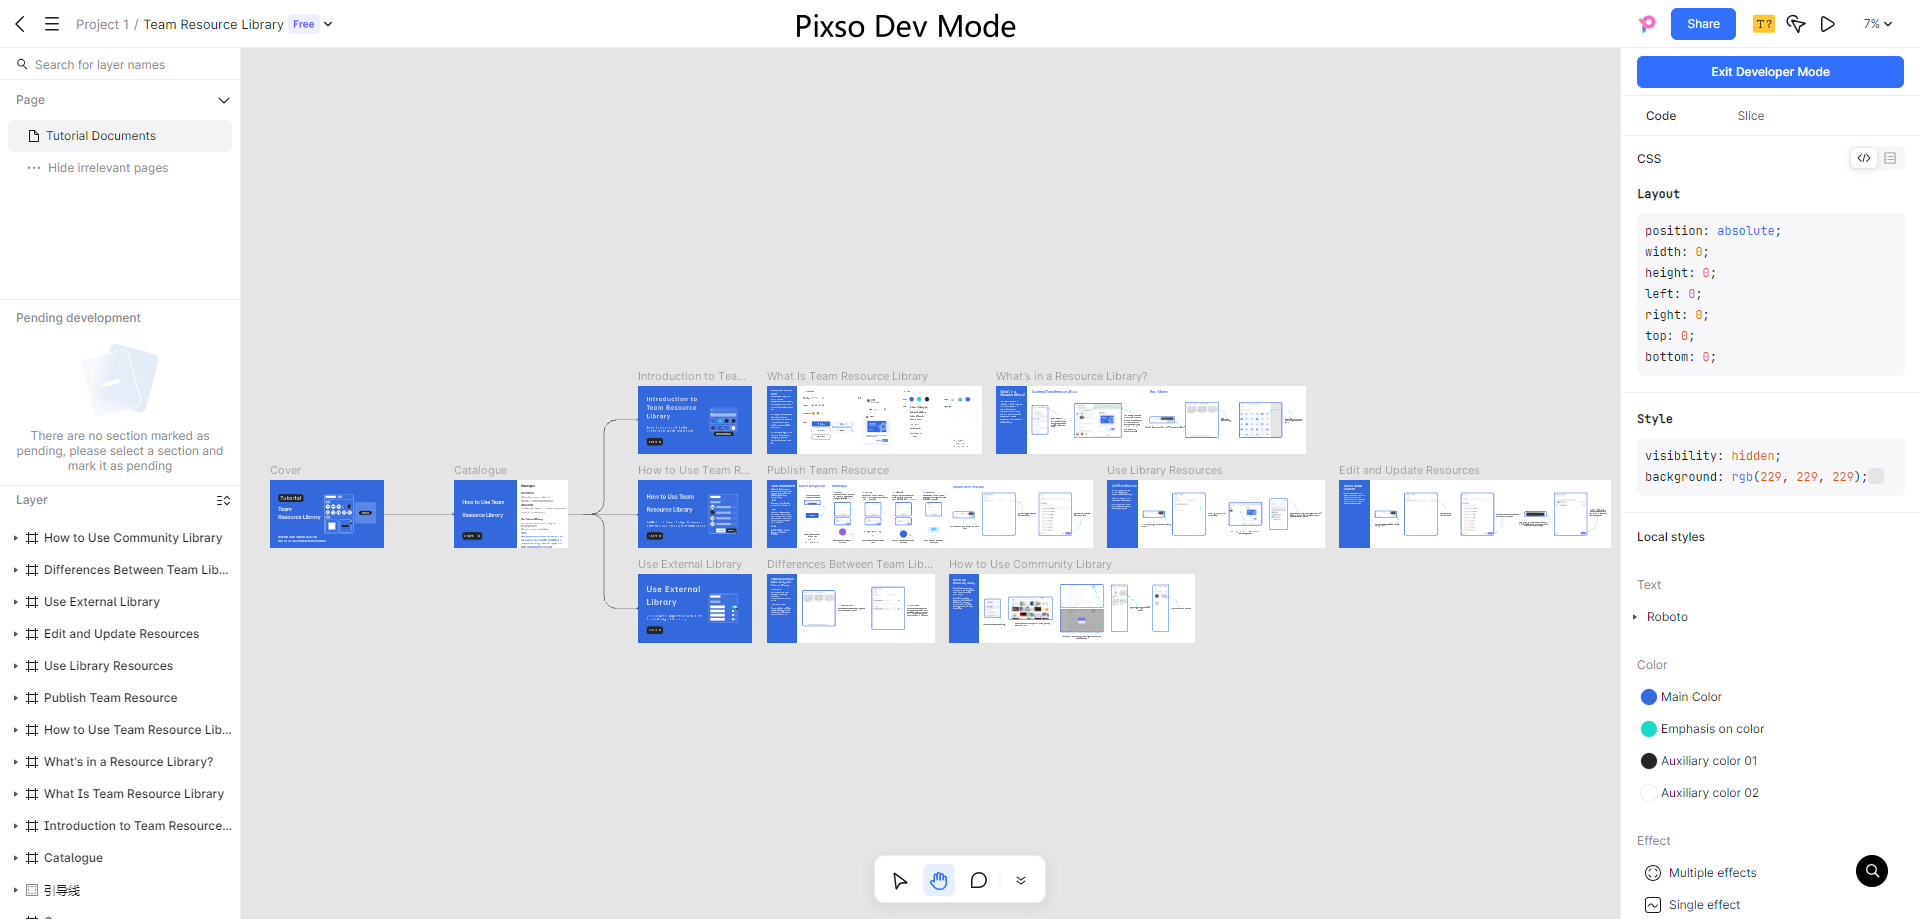
1. Enter Developer Mode
You can enter developer mode by clicking the button on the right-side panel. After that, all the top frames will be displayed by default. On the right side panel, you can also see the slice details and download all slices created by the designer.

Please note that only top frames are displayed, and text layers, vector shapes and components on canvas will all be hidden. However, you can create a parent frame(shortcut: Command/Ctrl + Option/Shift+G) to display them.

2. Share Developer Mode
Pixso supports sharing the canvas in developer mode directly to others. Click the Share button on the top corner to copy the sharing link. And the permission is the same as that of the design file.
3. Enter Slide Show Mode
As it is troublesome for developers to check more design details by dragging and scaling the canvas, Pixso releases the slide show mode. Double-click the frame or click the Locate button. Then the selected frame can be automatically displayed in the center of the viewport for developers to work immersively.

In single-frame mode, you can still select an element to check its code and slice or download it. If you need to switch to other frames, click the switch button at the bottom or select one from the frame list on the left panel.
To exit single frame mode, you can click the Exit button in the top left corner.

How to Import Figma File into Pixso?
Currently, Pixso supports two methods to import Figma files. You can choose any one according to the actual situation:
- Method 1. Download the Figma file locally and upload it to Pixso.
- Method 2. Copy the file link and paste it into the URL import box of Pixso.
The second method will be affected by the internet. That's why we recommend the first one.
Method 1. Import Local Figma File
1. Export the file to local in Figma.

2. Locate the Import file option in the Pixso workspace.
3. Select the Figma (.fig) and import the file separately or in batch.

4. After the import finishes, you can choose to upload other files or open the imported file directly.

You can also drag the Figma file directly to the workspace and finish the import.

Method 2. Import Figma File via Link
1. Get the file link from the address bar, the share popup, or the file entry.


Note: The private file link is not supported by Pixso. That's to say, you need to set the access permission of the file as Anyone with the link.

2. Locate the Import file option on the Pixso workspace.
3. Select Figma (.fig) > URL import.

4. Before importing, you need to click Go for authorization. Then log into your Figma account and choose Allow access.


5. Finally, paste the file link into the box and click Import. When the process finishes, you can view and edit the file in Pixso workspace.