In the dynamic design realm, innovation is crucial, and low fidelity prototyping has become designers' go-to, enabling rapid idea exploration and cost-effective tests, making designs stand out whether digital or physical. In this blog, we'll look closely at its features, carefully follow the steps, and use 7 useful tips to make our design work even better.
What Is Low Fidelity Prototyping?
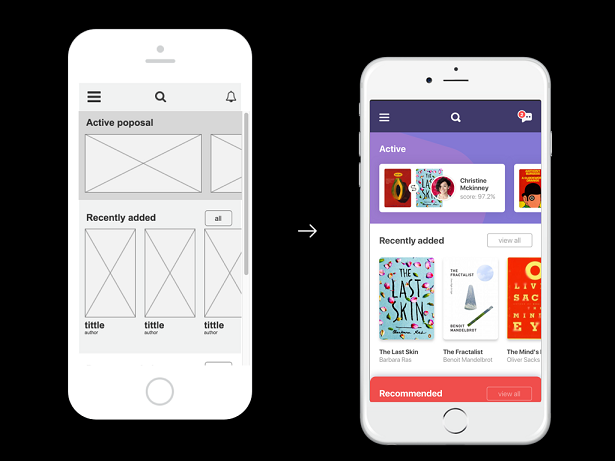
Low fidelity prototyping is the initial, rough draft in design. It presents a simplified version of a product or service concept, spotlighting core ideas and basic functionality. In contrast, a high fidelity prototype is like a detailed replica of the final product, with refined graphics, realistic interactions, and precise visual details. While a high fidelity prototype demands more time and resources to create, it offers a more immersive preview for users and stakeholders. However, a low fidelity prototype is quick and cheap to make. For instance, a sketched layout of a mobile app's screens on paper is low fidelity prototyping. This helps stakeholders grasp the overall flow early on, spotting and fixing key flaws, and saving time and resources.
Characteristics of Low Fidelity Prototyping
- Core Functional Focus
A low fidelity prototype zeroes in on what the product does. It strips away the frills and focus on the essential functions. For instance, when designing a new e-commerce website, a low fidelity prototype might consist of boxes and arrows on paper to map out the user journey from product search to checkout. This simplicity ensures that the team can test whether the fundamental process works smoothly before investing in a more polished high fidelity version.
- Simplicity and Speed
One of the greatest advantages of low-fidelity prototyping is its simplicity. Using basic materials like paper, pens, sticky notes, or simple digital tools, designers can whip up a prototype in no time. This speed enables them to iterate quickly. In a fast-paced startup environment, where time is of the essence, being able to rapidly generate and modify low-fidelity prototypes can be a game-changer. It means more ideas can be explored, and the best ones can be refined faster.
- Visual and Interactive Cues
Although low fidelity, these prototypes still provide valuable visual and interactive cues. A wireframe drawn on a whiteboard can give team members and clients a sense of the page layout and how different elements will interact. Even a rudimentary cardboard model of a physical product can convey its size, shape, and basic functionality, allowing for early feedback and improvements.
Creation Process of Low Fidelity Prototyping
- Sketching Initial Ideas
Begin with freehand sketching on paper. Let your creativity flow without worrying about perfection. Use different colors to distinguish between various components, like buttons, menus, and content areas. Add annotations to clarify functionality or user actions. This unstructured approach helps generate a wide range of ideas that can later be refined.
- Selecting the Right Tools and Materials
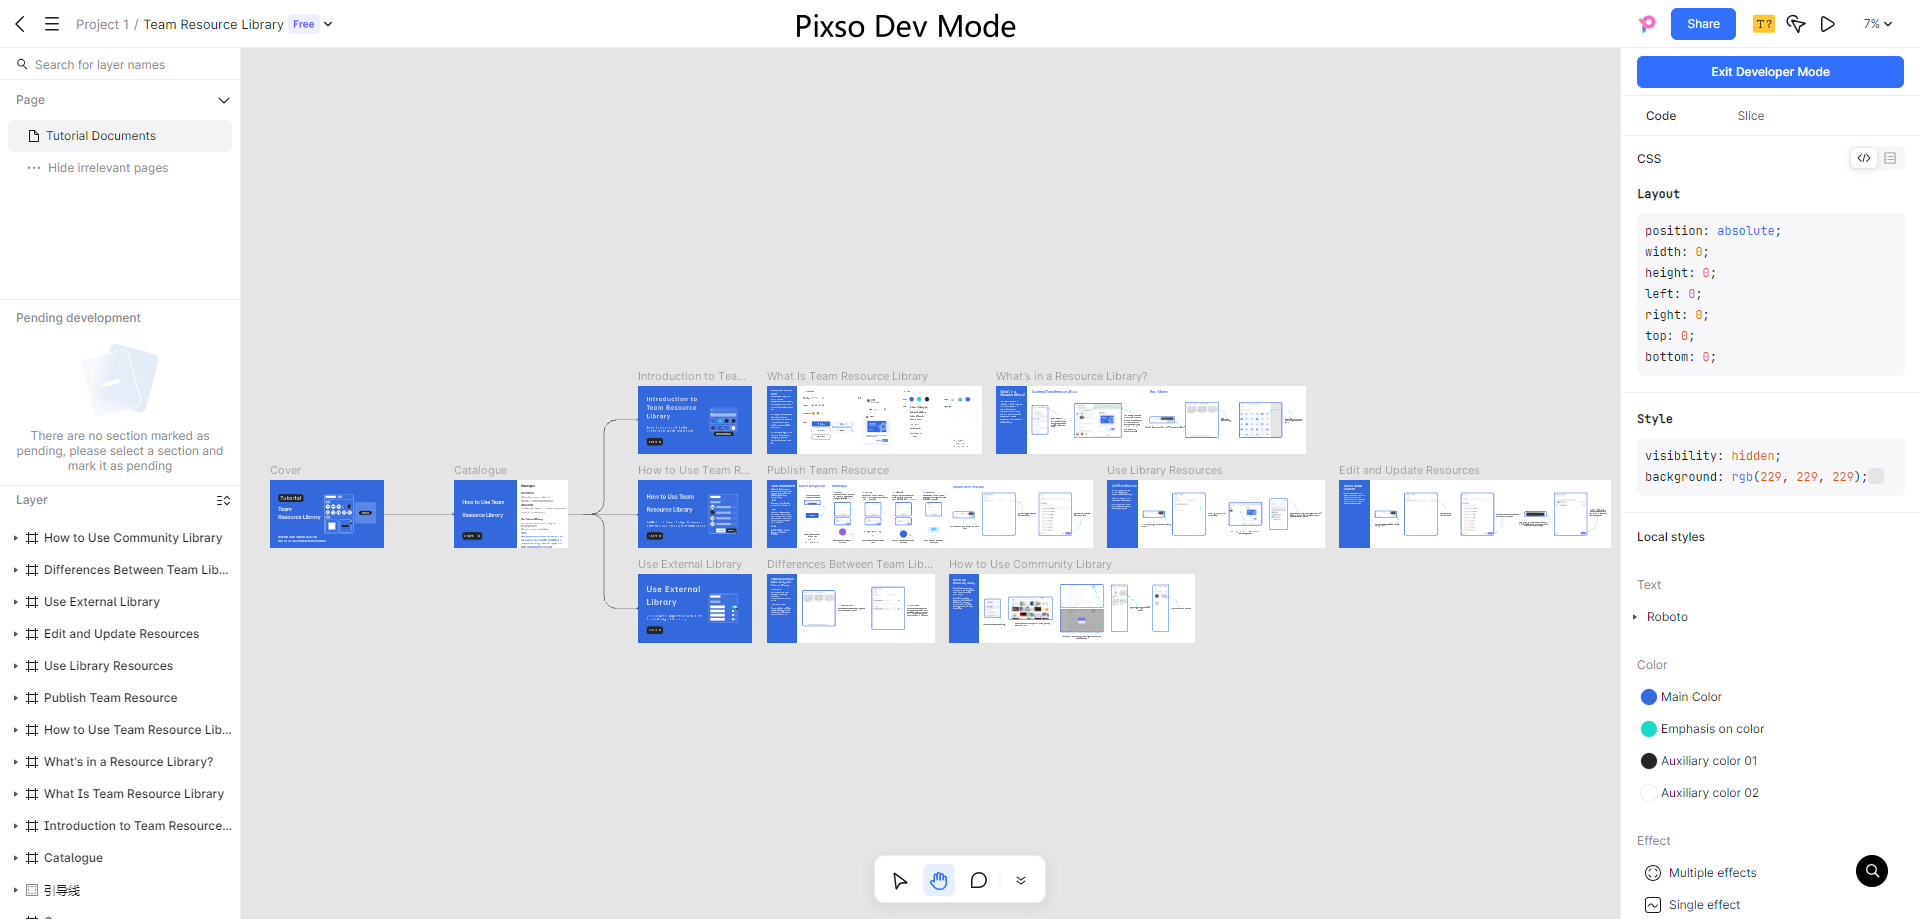
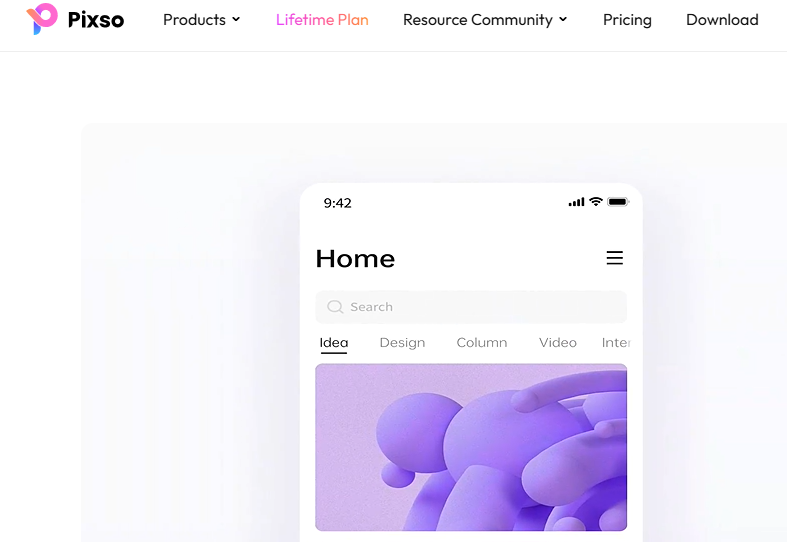
Depending on the project, choose between physical and digital tools. For a more tactile experience and quick in-person collaboration, physical materials like foam boards for 3D models or index cards for flowcharts work well. If remote work is involved or you need to share the prototype digitally, wireframing software such as Figma or Sketch can be great options. Consider using Pixso, a tool that offers a seamless blend of simplicity and functionality for creating a low fidelity prototype. Its intuitive interface allows even novice designers to bring their ideas to life quickly.
- Assembling the Prototype
Once you have your sketches and materials ready, it's time to build. Cut and paste paper components, use digital drag-and-drop features, or combine both methods. Ensure that the prototype is structurally sound if it's physical, and that all the interactive elements work as intended if it's digital. Test it out yourself first to catch any obvious glitches.
7 Key Tips for Mastering Low Fidelity Prototyping Creativity
- Embrace Simplicity
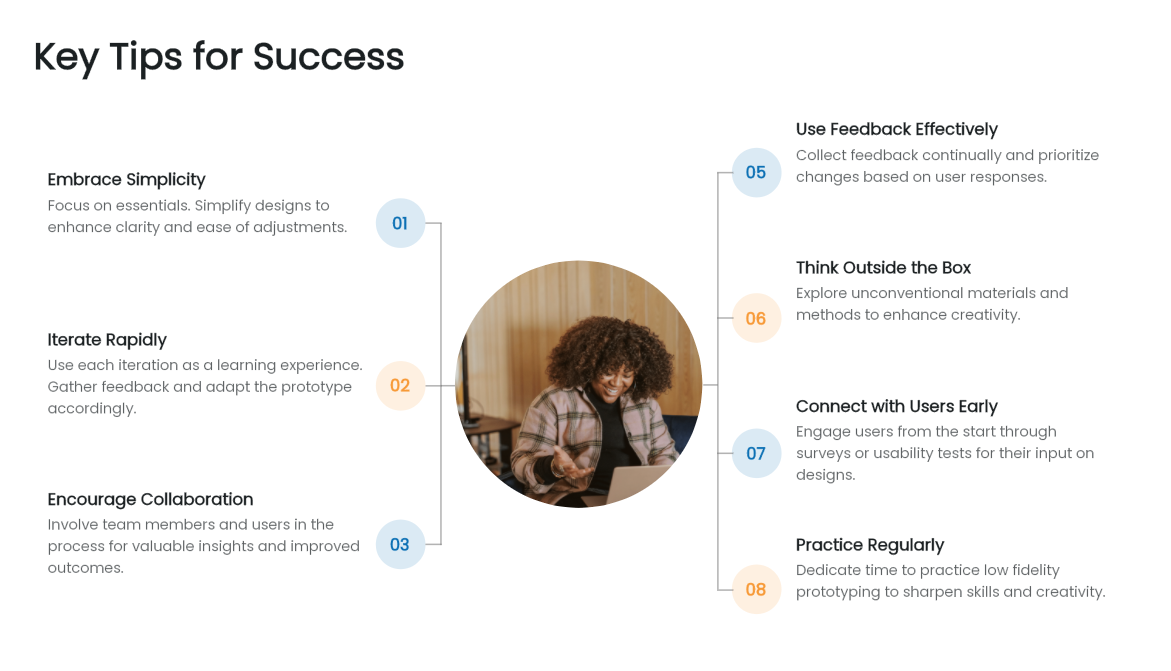
Resist the urge to overcomplicate. Keep your prototypes focused on the bare essentials. When designing a new fitness app, instead of trying to create detailed graphics for each exercise, use simple icons and text to represent the key actions. This makes it easier to understand and modify the prototype.
- Iterate Rapidly
Each iteration is a learning opportunity. Start with a minimal viable prototype, test it with users or team members, gather feedback, and make immediate changes. If you're prototyping a new furniture design, after the first paper model, get feedback on comfort and functionality, then tweak the design and create a second iteration.
- Encourage Collaboration
Involve team members, clients, and end-users in the process. Organize brainstorming sessions around the prototype. When developing a new educational game, have teachers and students provide input on the gameplay and learning objectives to create a more engaging final product.
- Use Feedback Effectively
Gather feedback at every stage. Create a simple feedback form, categorize the responses, and prioritize changes. For a social media app prototype, listen to user comments about the post-creation process and use that to enhance the next version.
- Think Outside the Box
Break free from traditional design constraints. Try using unconventional materials or approaches. If you're prototyping a new packaging design, consider using recycled materials in a unique way to stand out.
- Connect with Users Early
Involve users from the start. Conduct guerrilla usability tests in public spaces or online surveys. For a food delivery app, ask potential users about their ordering preferences and pain points to shape the prototype.
- Practice Regularly
Like any skill, regular practice is key. Set aside time each week to work on low fidelity prototypes, even if it's just for 30 minutes. Join online design challenges or work on personal projects to keep your skills sharp.
Final Thoughts
Mastering low fidelity prototyping is a journey that can unlock endless creative possibilities. By understanding its characteristics, following the creation process, and applying the 7 key tips, you can transform your design process. Remember, tools like Pixso can be your ally in this pursuit, providing the necessary support to bring your ideas to life. Keep experimenting, collaborating, and iterating, and you'll see your designs reach new heights. Whether you're a seasoned designer or just starting, low fidelity prototypes can set you on the path to innovation. So, pick up that pen and paper, or open that prototyping software, and start creating now!
