Scott
Product prototyping uses all kinds of materials—static images, and dynamic gifs too. But if gifs in your prototype design can’t play, you can’t show demo video cards or icon animations directly. This just adds extra communication work for the team. Pixso 2.0 upgrades prototype presentation to fix this.
How to Apply Gifs & Videos in Prototype Design?
1. Upload Gifs or Videos
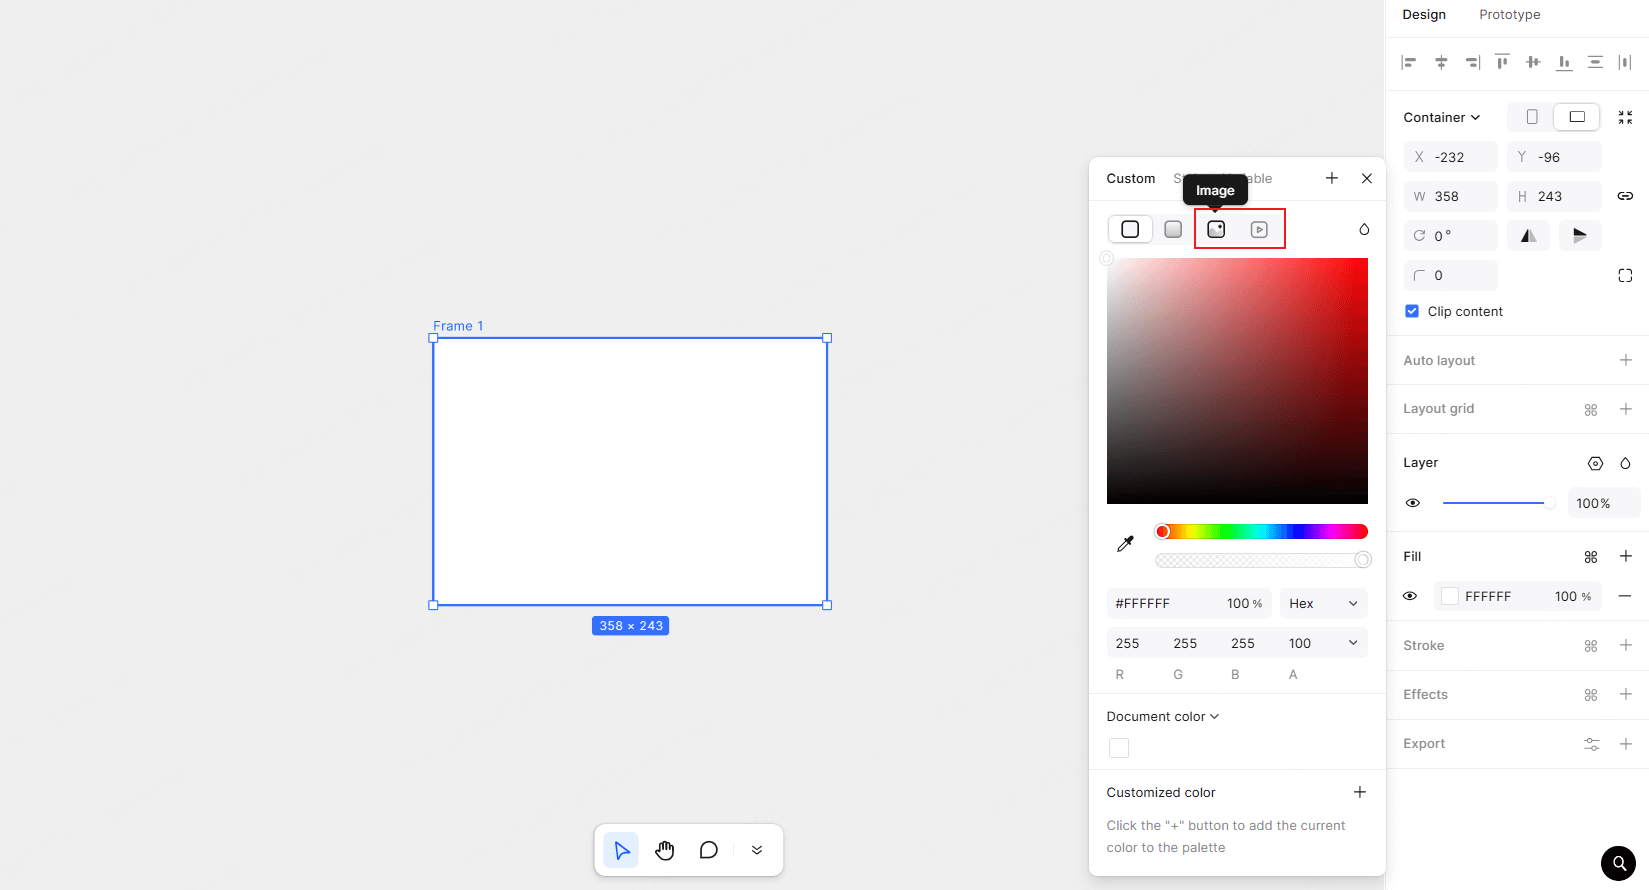
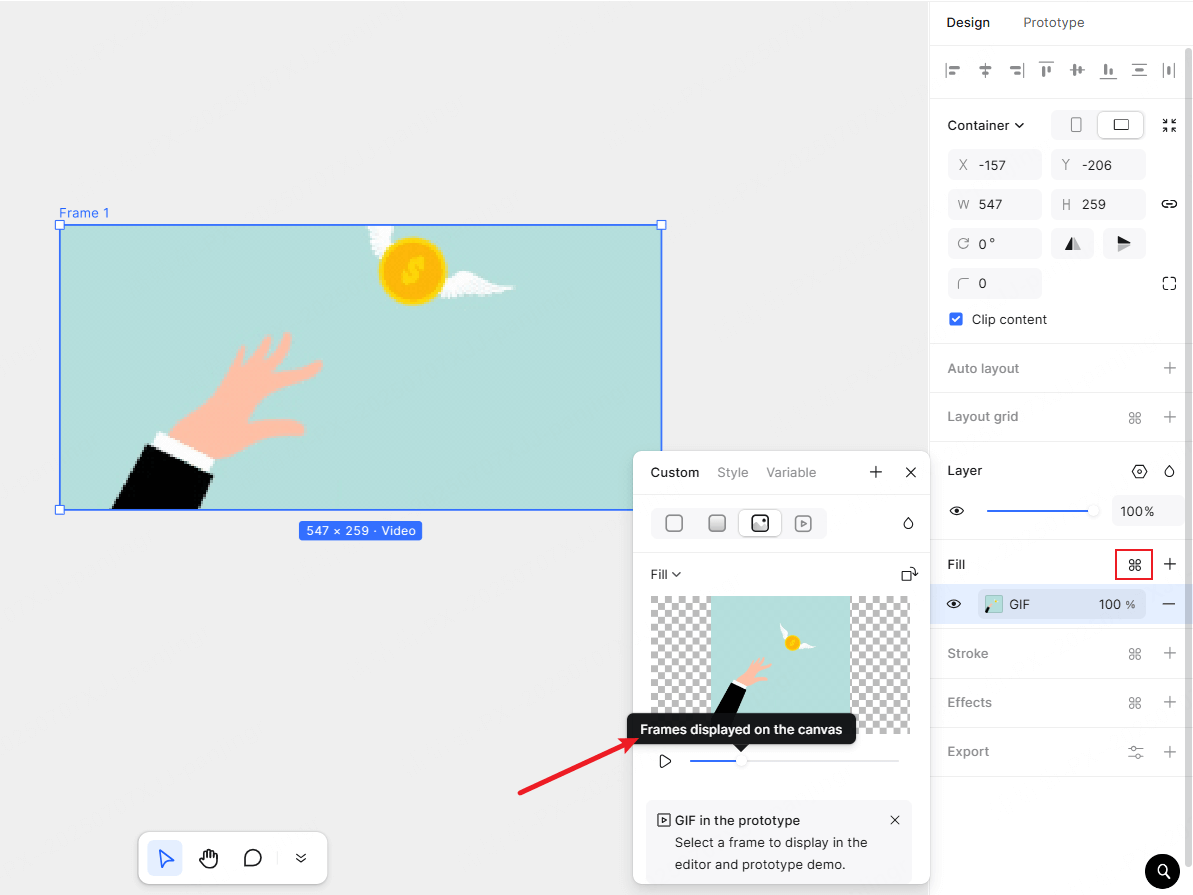
Add a container to your Pixso canvas. Select it, then click the fill thumbnail in the right sidebar to open the custom panel. Switch the solid color fill to “Image” or “Video.” Click “Choose Image” or “Choose Video” below to upload gifs or videos from your device.
2. Set Frames for Demo
Gifs have multiple frames. Drag the progress bar under the preview window to pick which frame shows in the design editor and prototype demo.
3. Click to Preview
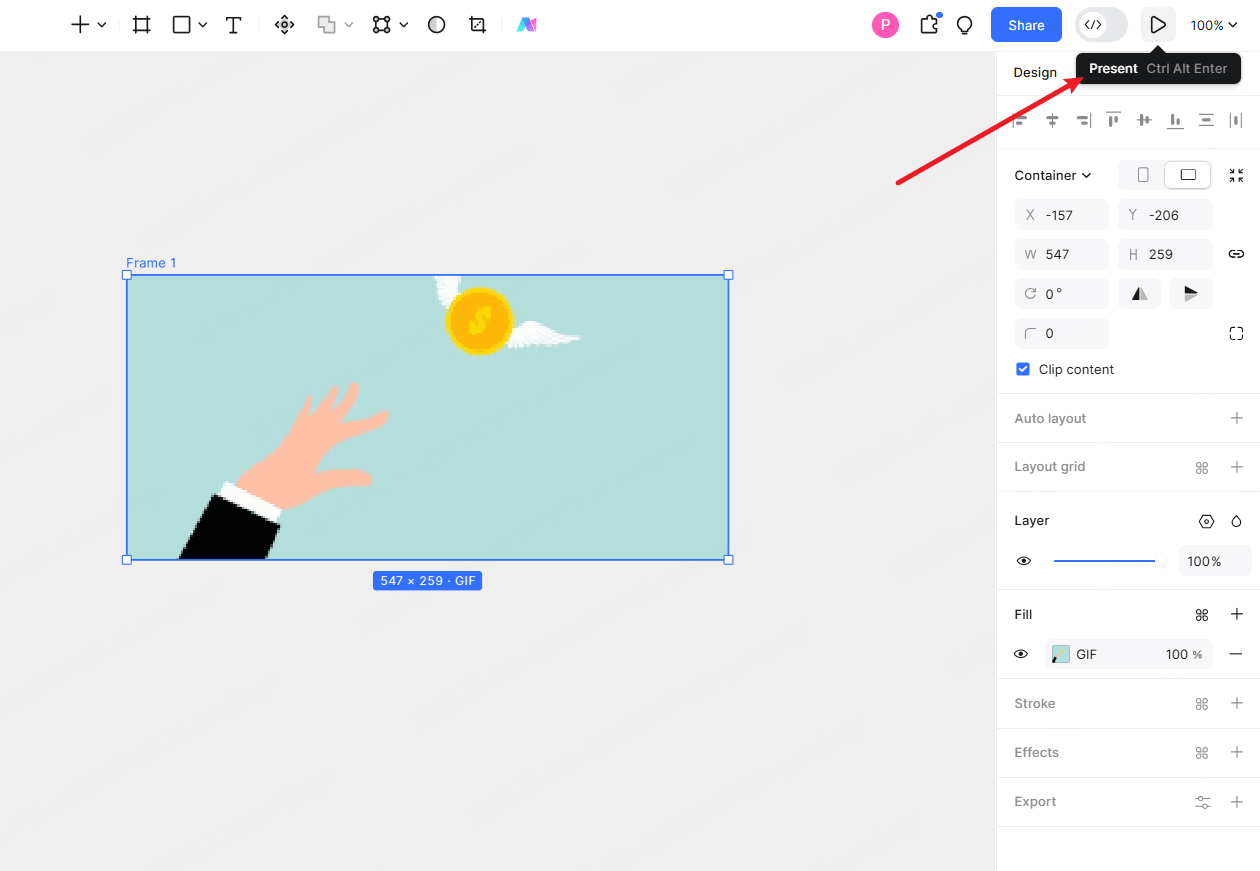
Once set up, hit the “Demo” button in the top right of the Pixso editor. This drops you into prototype presentation mode, where your gifs and videos will play as intended.
4. Adjust to Fit
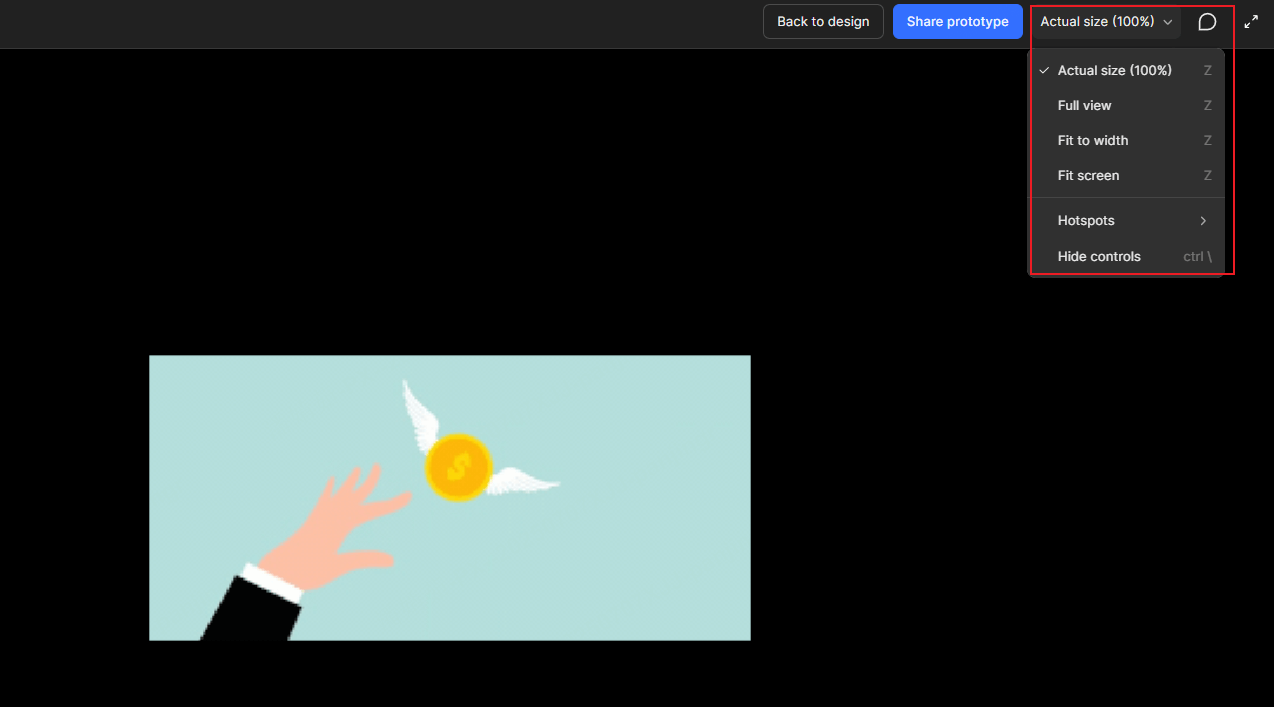
In prototype demo mode, click “Fit to Width” in the top right. This dynamically adjusts the gif or video to match the right viewport size.
Key Advantages of Gif & Video in Prototype Design in Pixso 2.0
Pixso 2.0’s prototype design preview supports GIFs and videos, which expands the range of content you can include in prototype displays. This not only boosts prototype quality but also makes the prototype more intuitive to understand. At the same time, adding dynamic content helps make the prototype more engaging. It lets you gather more accurate feedback—feedback that in turn supports ongoing refinements to your product solutions.