Scott
Imagine as a designer working in Figma, you have worked hard - exerting your creativity and designing one of the most appealing design prototypes for your client. It looks slick and you know it provides awesome features that will impress your client.
However, when handing it off, you notice that you have a tough time figuring out how to convert Figma to html to hand it off to the developers. In this blog, we will learn how to export Figma to html by exploring some ways to do so.
Part 1. Exporting to HTML with Pixso
In this solution, no plugins are required. You can export your Figma file to HTML with the help of another design tool, Pixso.
Pixso is a free collaborative design tool that can import various design files - ranging from Figma to Sketch. It provides the same versatile design tools that Figma offers and designers can make use of free resources from Pixso’s own design community.
Without further ado, follow these steps to export your Figma file to HTML:
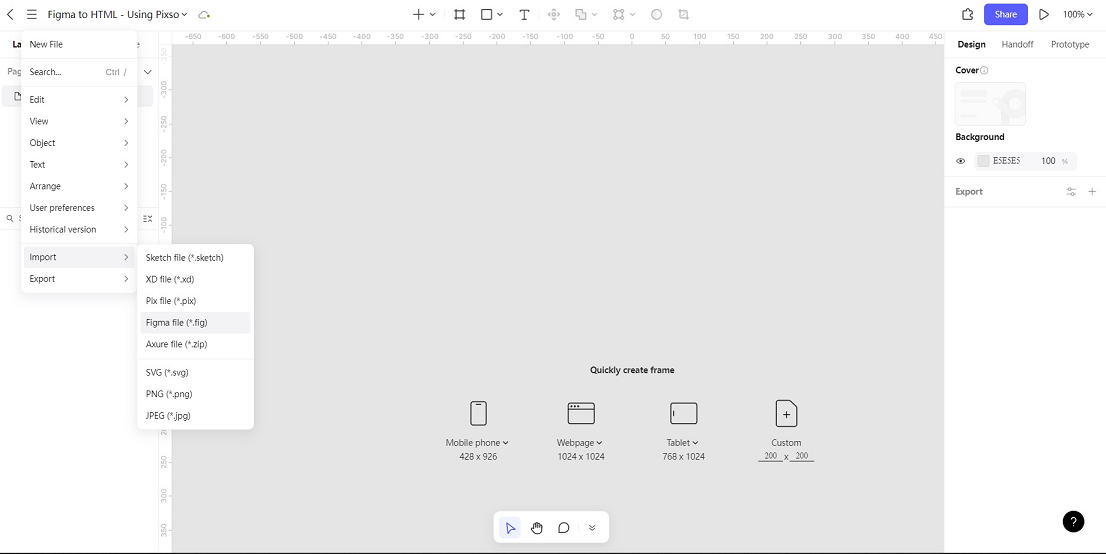
Step 1. Register a Pixso account and log in to your workspace. Create a new file then.
Step 2. Click on the hamburger menu in the top left corner of the screen and select the import option. Then you will have the option to import your Figma file.
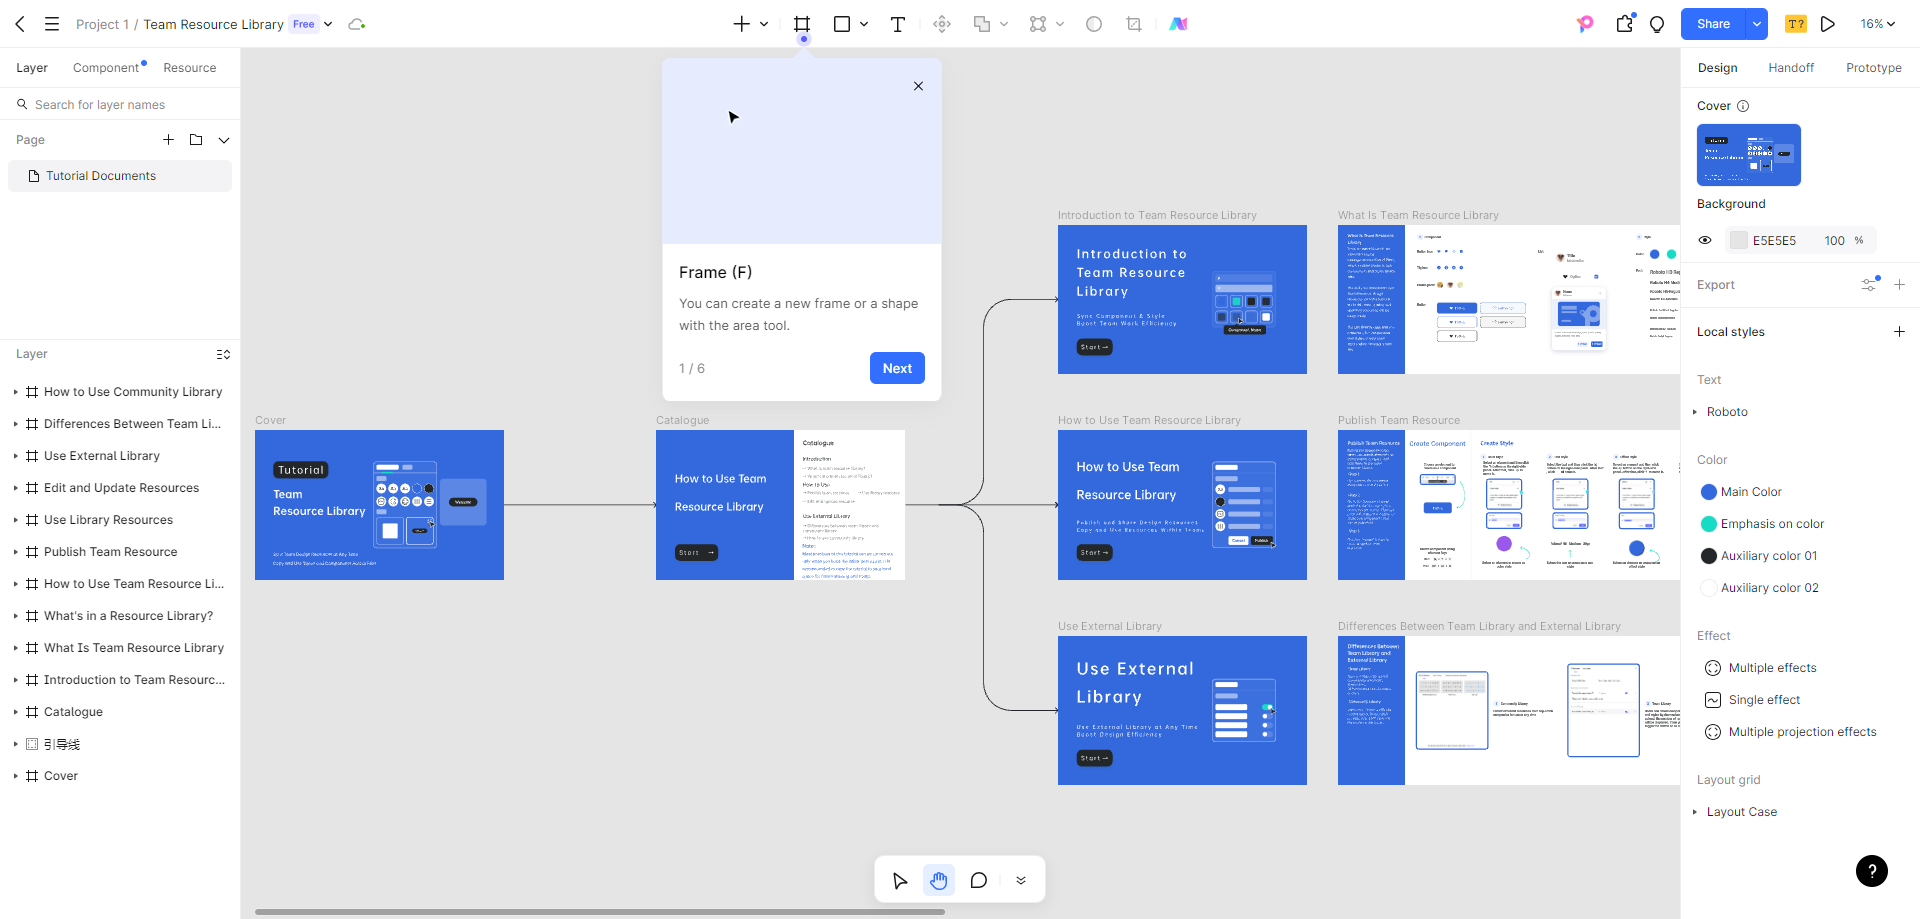
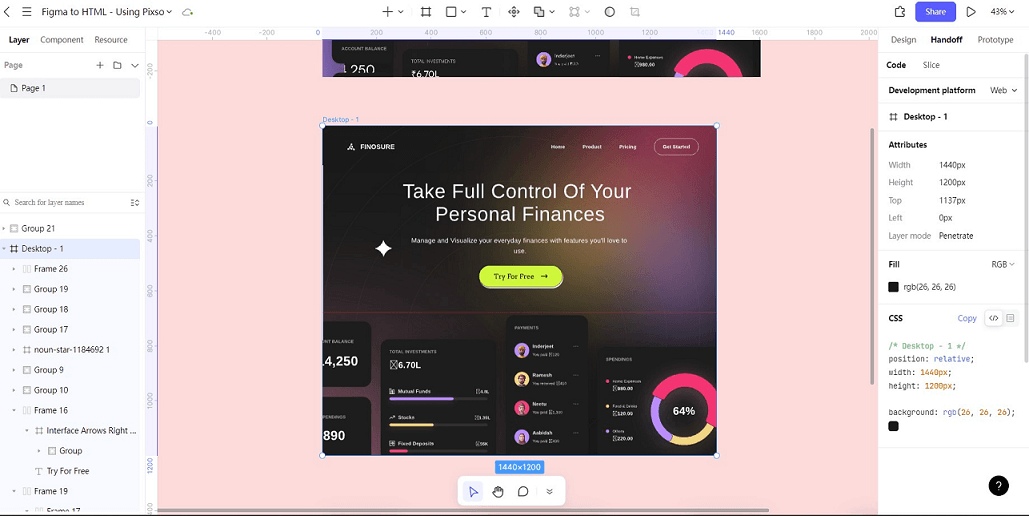
Step 3. Once you have imported the Figma design file into the Pixso canvas, head over to the right side panel of your screen and click on the Handoff tab.
Step 4. Over there, you will see your CSS code and will be able to copy the code with ease.
Part 2. Other Methods to Export the Figma File to HTML
Here are a few other ways to export your Figma file to HTML:
1. Using Anima
Anima is a plugin that can help you to create high-fidelity code prototypes in not only Figma but also in Adobe XD, Sketch, and other design tools. Here are the following steps to export the Figma file to HTML:
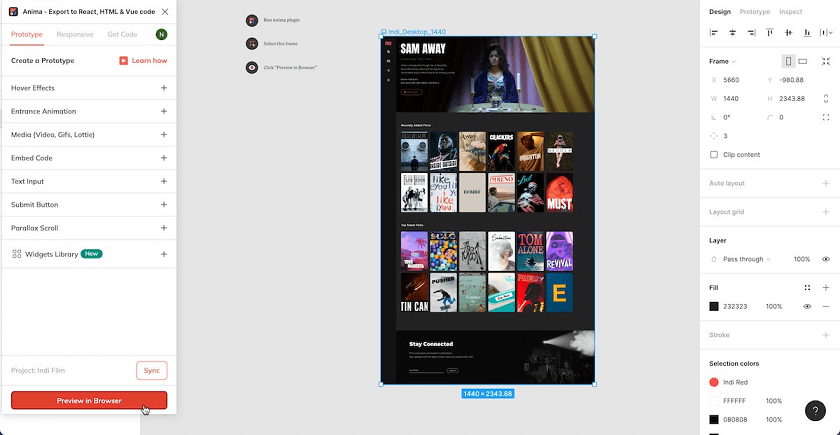
Source: Anima
- Step 1. Download the Anima plugin for Figma and open it in your Figma file.
- Step 2. Once you open the Anima plugin, you can click the “Preview in Browser” button at the bottom of the panel after selecting the design frames you want to be exported.
- Step 3. After checking your Figma design in the browser preview, you can click on the “Get code” button on the top right corner of the screen.
- Step 4. Another pop-up will appear asking you to confirm getting the code. Click on the “Sync & Get Code” button to have it synced to your Anima app.
- Step 5. When you view the Export options pop up, you can tick the “Zip File” option, “Pure HTML” below, and “Auto Flex” option. Finally, click on the “Export” button to download the zip file. Then you can view all the HTML contents.
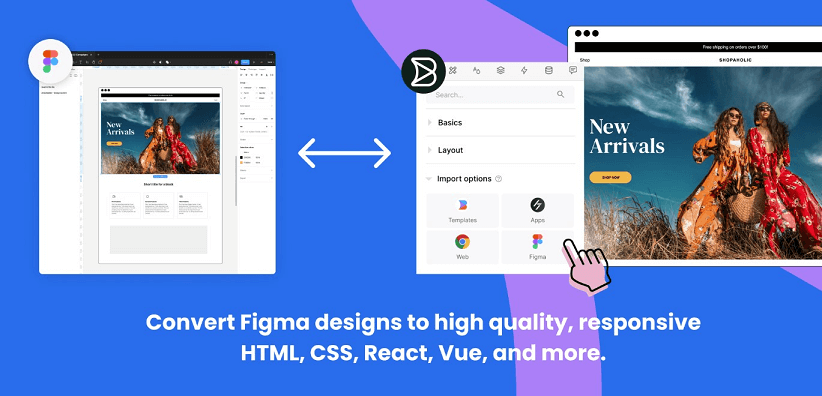
2. Using Builder.io
Builder.io - Figma to HTML plugin helps convert Figma designs to responsive HTML, CSS, React, Vue, etc. Moreover, it also helps in converting existing HTML codes you find online to Figma design files. Here are the following steps to export the Figma file to HTML:
- Step 1. Install the Builder.io - HTML to Figma plugin.
- Step 2. In your Figma file, you can search in your plugins for “html to figma” and you will get that plugin panel pop up over your Figma canvas.
- Step 3. You can select the frames you want to export and then get the code instantly.
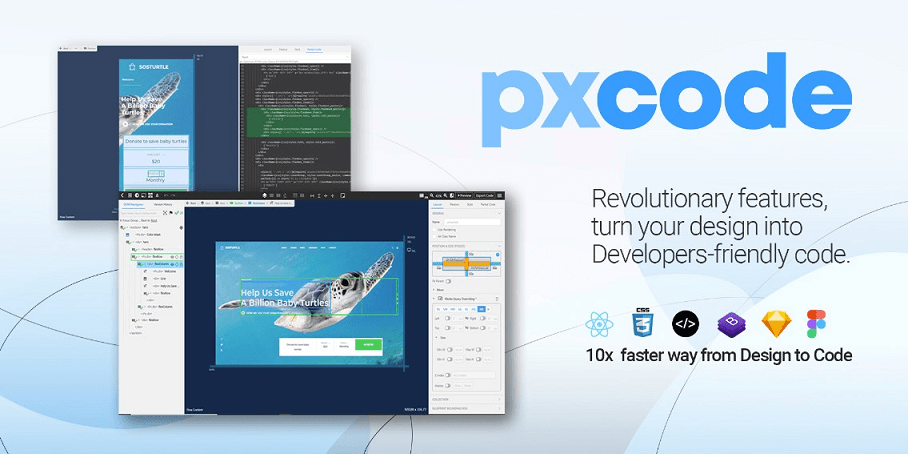
3. Using pxCode
pxCode is another commonly used plugin where it can integrate both Figma and Sketch designs and convert it to HTML and CSS code.
Here are the following steps to export the Figma file to HTML:
- Step 1. Firstly, install the pxCode plugin in your Figma app.
- Step 2. Open the pxCode plugin in your Figma file and a pop-up appears. Click on the “Download All” button to export your Figma file.
- Step 3. The next step is to open your pxCode on your browser. You can import the Figma design file you just exported on “Create Project”.
- Step 4. You can edit your responsive code on the editing screen. After you have completed designing, you can click on “Export Code” and convert it to respective HTML, CSS, React, etc. for your use.
Part 3. Why Handoff Phase is Important?
It is crucial for UI/UX designers to run their design to HTML code so that they can test whether all the design elements are responsive and do not cause any ramifications for the entire architecture. Hence, exporting the design files to HTML code helps in saving time and knowing if any more designs should be incorporated to optimize its responsiveness.
It is best for both developers and designers to work together on this early on in the design process so all goals and understanding are met. Moreover, it helps to save time when it comes to the turnaround of a particular project.
Convert Your Creative Designs into a Real Website…
That wraps up different ways in which you can convert files from Figma to html. As the last section suggests, communication between the designer and developer is crucial during the design phase.
Having clear and crisp communication helps to effective design projects. Hence, using a collaborative design tool like Pixso helps small to medium sized teams achieve success and also export the design file to html and css code within minutes.