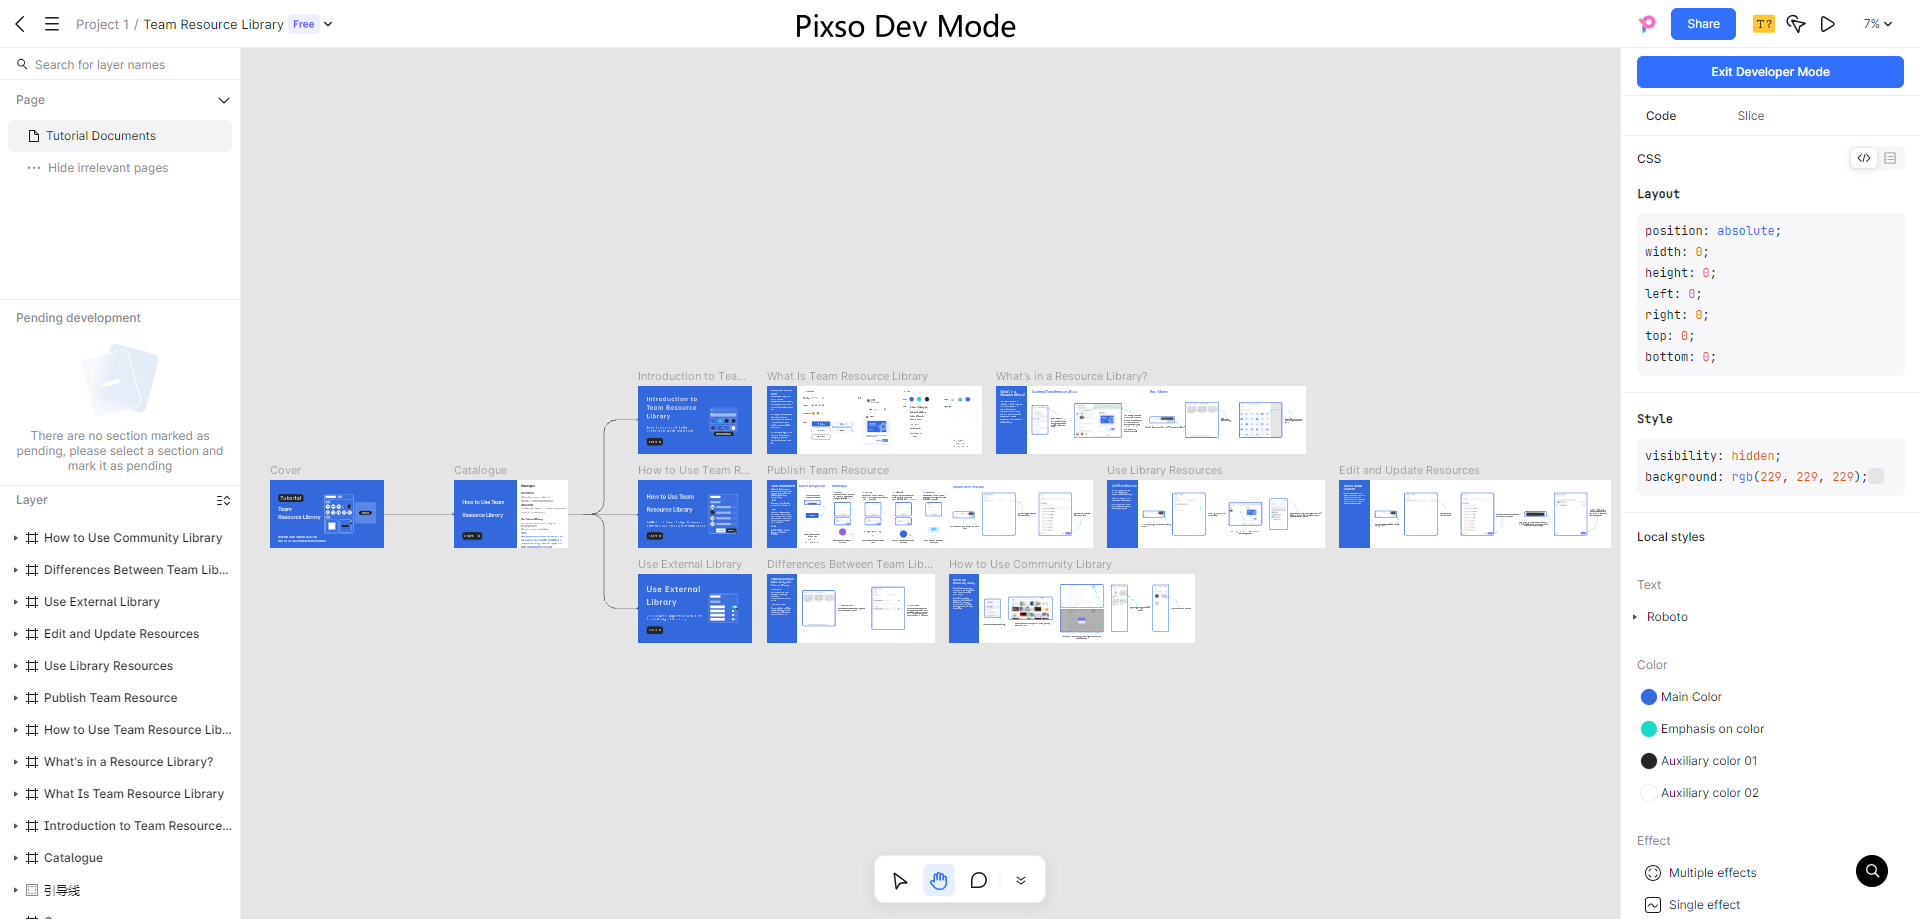
It is known to all that Axure is a professional-grade design product for prototyping and a must-learn tool for product managers. However, you may feel frustrated as team members can’t work collaboratively on Axure.
That’s what Pixso can exactly do for you. And the good news is that Pixso now supports Axure files import. That’s to say, if you have prototyped the product in Axure and now want to switch to Pixso, you can import the Axure file seamlessly into the latter. Then you and your teammates can work together to edit, review, display and share the file. Wouldn't it be nice?

Below are steps on how to import Axure file into Pixso.
How to Import Axure Files into Pixso
Step 1. Export the Axure file. Launch Axure and click Publish to generate the prototype file. Then, create a blank folder as the export location and choose Publish Locally.
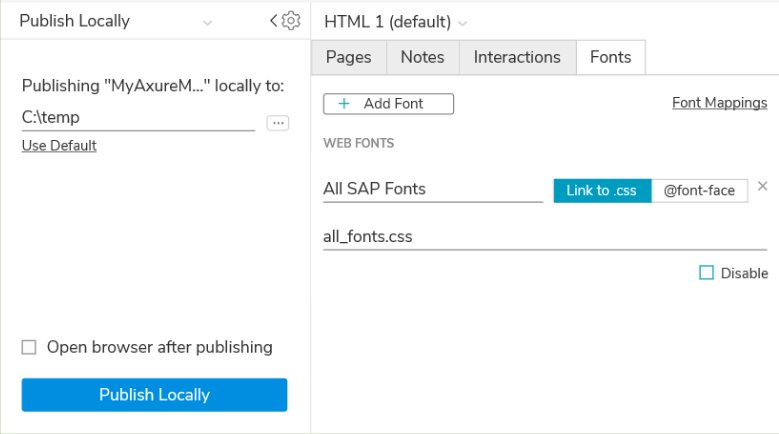
Step 2. Invert the Axure file into ZIP format. Create a blank folder, compress the entire generated file and invert it as the ZIP format. Remember not to encrypt it.
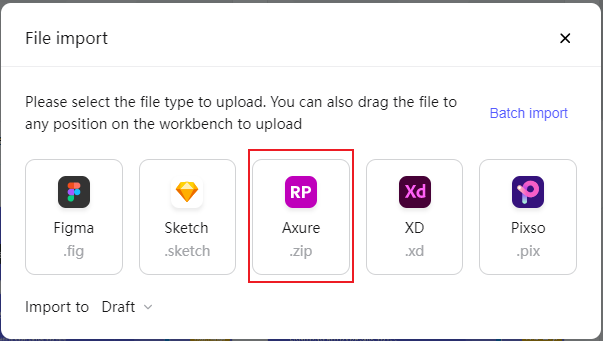
Step 3. Import the file into Pixso. Finally, in Pixso workspace, namely the home page, click Import files and select Axure. Now you are all done!
Flexibly Slice Images and Export Them in Pixso
Flexibly Slice Images
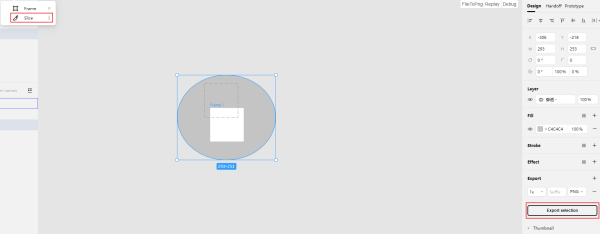
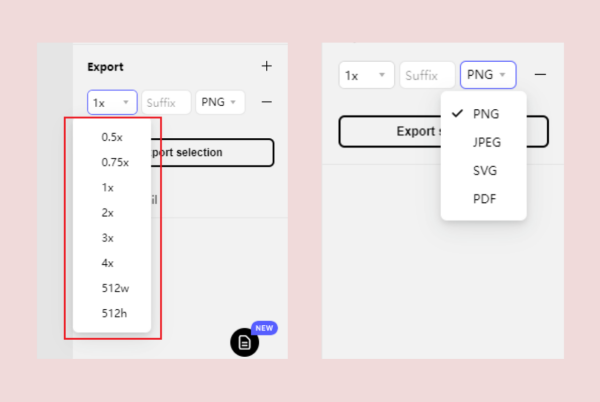
Click the Slice on the top toolbar, or use the shortcut key S to delimit the area where you want to slice. After that, locate the Export option on the right panel, under which you can select the pixel size of the sliced image to quickly export it.
Quickly Export Images
Pixso supports exporting slices with different pixel size in batches. Click the + icon on the top-right corner to add slices with different pixel size. The built-in pixel size includes 0.5x, 0.75x, 2x, 3x, 4x, 512w and 512h. Moreover, you can customize the suffix and the format.
Final Words
That’s all for the guide on how to import Axure files into Pixso. You can also find a bonus tip on how to flexibly slice images and quickly export them using this tool. Just get started now!

