Scott
Navigation helps people understand where they are, what they can reach, and how to return. A useful interface makes those choices recognizable without requiring users to remember the structure of the website or app.
Like signposts in an unfamiliar place, labels and location cues should work together. This guide explains common navigation patterns and how to choose, label, and test them for the tasks your product supports.
Part 1. Why is Navigation Design Important?
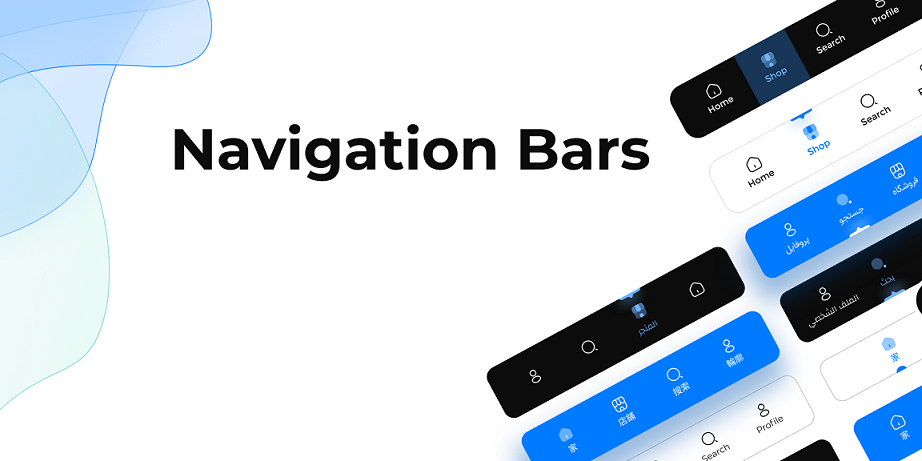
Navigation design includes the links, controls, hierarchy, and location cues that connect an interface. Its job is broader than displaying the current page. It should support three practical needs:
- Understand the structure. Recognizable categories help people predict where information belongs. A clear current-page state explains their position within that structure.
- Reach and revisit a destination. People need a direct route to important tasks, a predictable way back, and links to related information when a page is not the destination they expected.
- Reduce uncertainty. Stable labels and behavior let people build confidence as they move between sections. Navigation alone cannot guarantee retention, but confusing routes can obstruct otherwise useful content.
Part 2. Commonly Used Navigation Designs in UX Design
Let us go through some commonly used navigation design patterns used in UX design:
#1 Top Menu
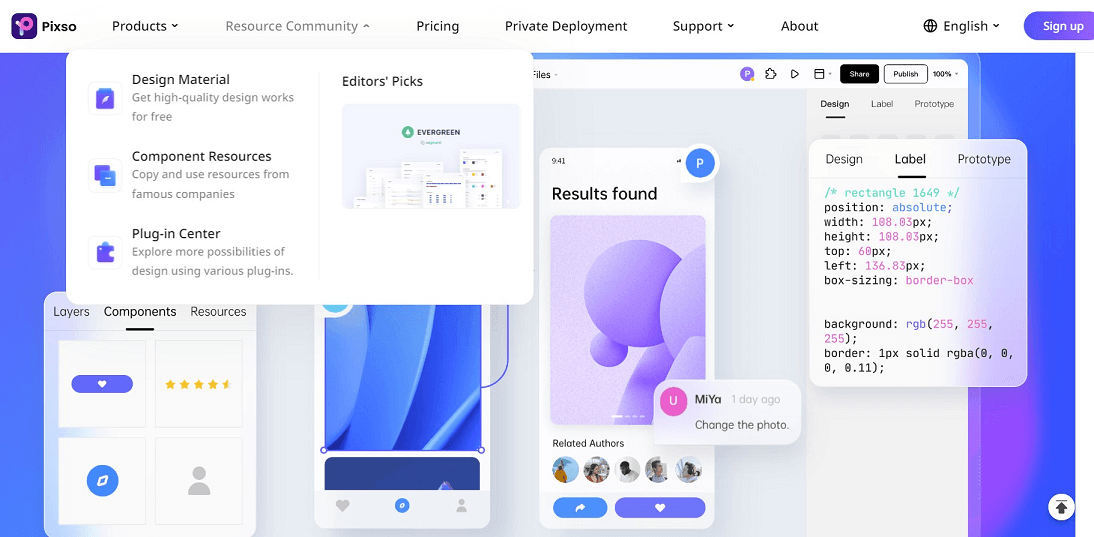
A top navigation bar exposes the main sections of a website. Choose labels that describe destinations rather than copying a standard list of Home, Products, Services, and About. The right set depends on the content and the tasks visitors bring.
A drop-down reveals links within a section; a sticky bar remains visible during scrolling. They solve different problems and can be used together. A drop-down must not depend on hover alone. Provide a button that works by click, touch, Enter, and Space, exposes its expanded state, and allows dismissal with Escape and focus returned to the controlling button. The W3C disclosure navigation example documents this pattern; test the implemented behavior with assistive technologies.
#2 Vertical Menu or Side Bar
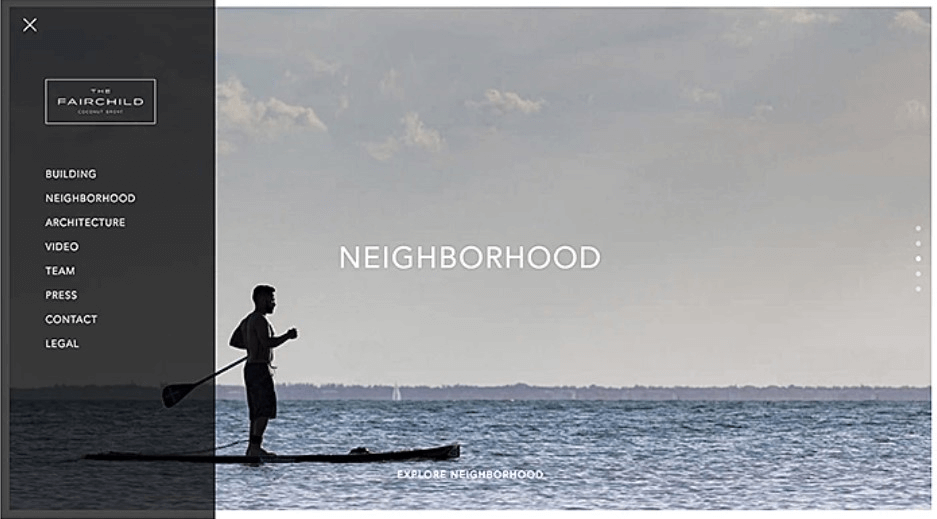
Vertical navigation arranges links in a column, often on the left of a desktop interface. It can expose a hierarchy of primary sections and their children without making the top bar excessively wide.
A sidebar can also complement global navigation by showing the current section’s pages. Keep this distinction clear: a navigation link changes location, while a filter changes the content shown in the current view.
Source: Agente
#3 Footer Navigation
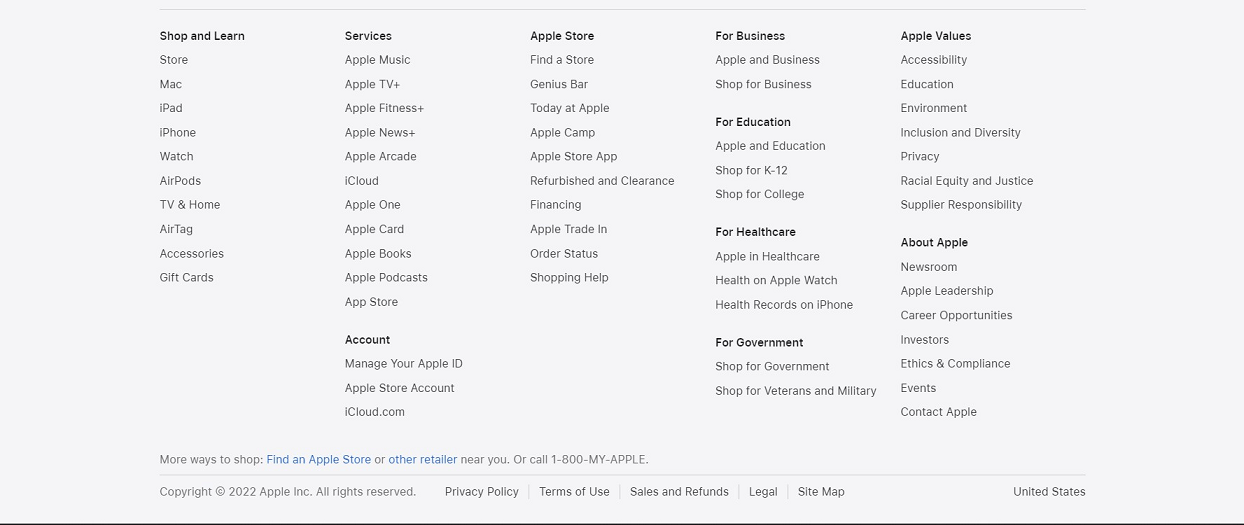
Footer navigation provides useful routes after someone reaches the end of a page. Group links under descriptive headings so people can find help, company information, or another section without returning to the top.
Choose the footer’s depth according to the site’s content. A large catalog may need several groups; a focused product site may need far fewer. Do not use the footer as the only route to a primary task.
#4 Hamburger Menu
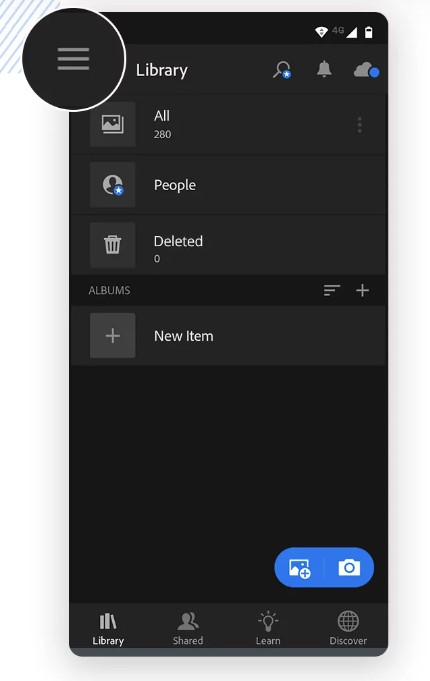
A hamburger icon opens a navigation panel. Pair it with a visible “Menu” label where space allows, and make the expanded state clear. The control opens navigation; it does not filter the page’s content.
This pattern saves space on narrow screens, but it also hides choices until people open it. Keep frequent tasks visible when practical. Check opening, closing, focus movement, and return to the current page on a real mobile layout.
Source: Justinmind
#5 Breadcrumbs
Breadcrumbs show the current page’s place in a content hierarchy, usually below the main navigation. Parent links let people move to broader categories. They are not usually a record of every page the person visited.
They are especially useful in deep catalogs and documentation. Use understandable parent labels, distinguish the current page, and avoid duplicating the entire global menu.
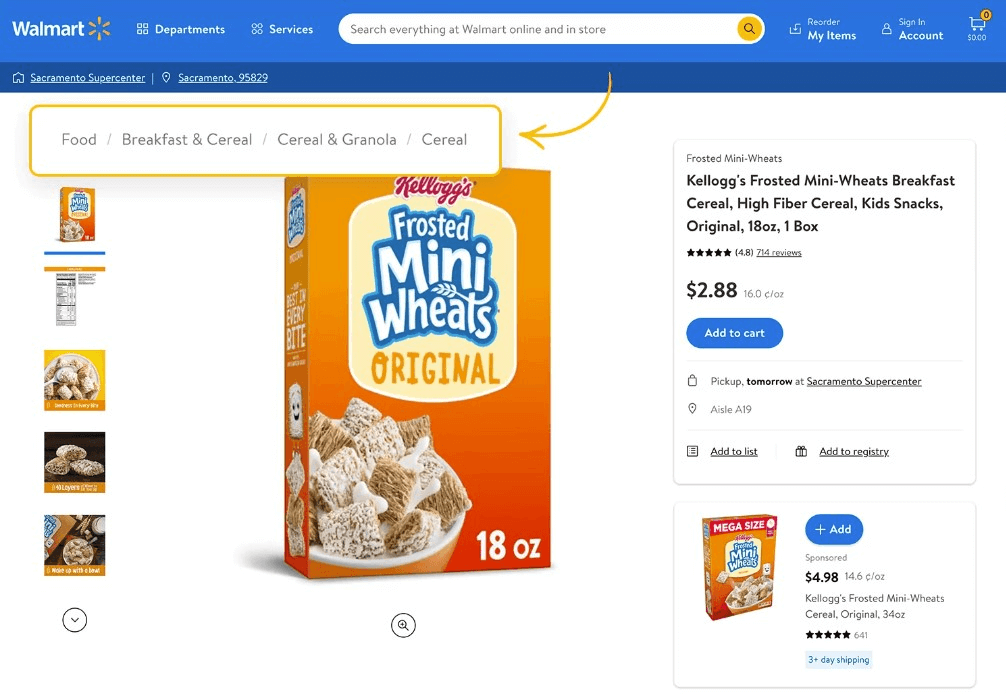
Source: Justinmind
#6 Call-to-action buttons
A call to action can lead to a destination or perform an action, but these are different behaviors. Use a link to navigate and a button for an operation such as submitting a form. A signup link can support a journey without replacing the site’s navigation.
Give the action a specific label and make its outcome predictable. A download should identify the resource; a link to another step should describe that step. Avoid using a prominent CTA to compensate for unclear routes elsewhere.
Part 3. Tips for Better Navigation Design
After learning about the types of navigation design patterns, let us go through some tips on optimizing your navigation design patterns for a better user experience.
Make your navbar design visible
Make navigation visible through readable labels, sufficient contrast, and clear focus and current-page states. People should not need to experiment with decorative text to discover which items are links.
Place navigation bars where users expect them
Familiar placement helps people recognize navigation. Keep global navigation consistent across comparable pages, and distinguish it from section-specific links. Moving it simply to make a layout look different creates another thing users must learn.
Separate navigation from page content
Use spacing, alignment, and hierarchy to distinguish navigation from the content it controls. The two areas can share typography and brand colors without looking identical. A clear boundary is more useful than a blanket rule against drop-downs.
Don’t overwhelm users with too many navigation options
Group destinations by meaning and use labels people understand. Do not impose a fixed five-to-nine-item limit based on short-term memory: visible menus support recognition rather than requiring every option to be remembered. Nielsen Norman Group explains this misuse of the “magic number seven.” Choose the number and depth of groups by testing whether people can find actual content.
Test your navigation design with users
Give representative users a goal without naming the menu label: for example, “Find out how to invite a teammate.” Observe their first choice, wrong turns, and destination. If several choose the wrong section, investigate the label and hierarchy before changing the bar’s visual style. Include keyboard and narrow-screen navigation in the same task review.
Part 4. Design Navigation Bars Using Pixso
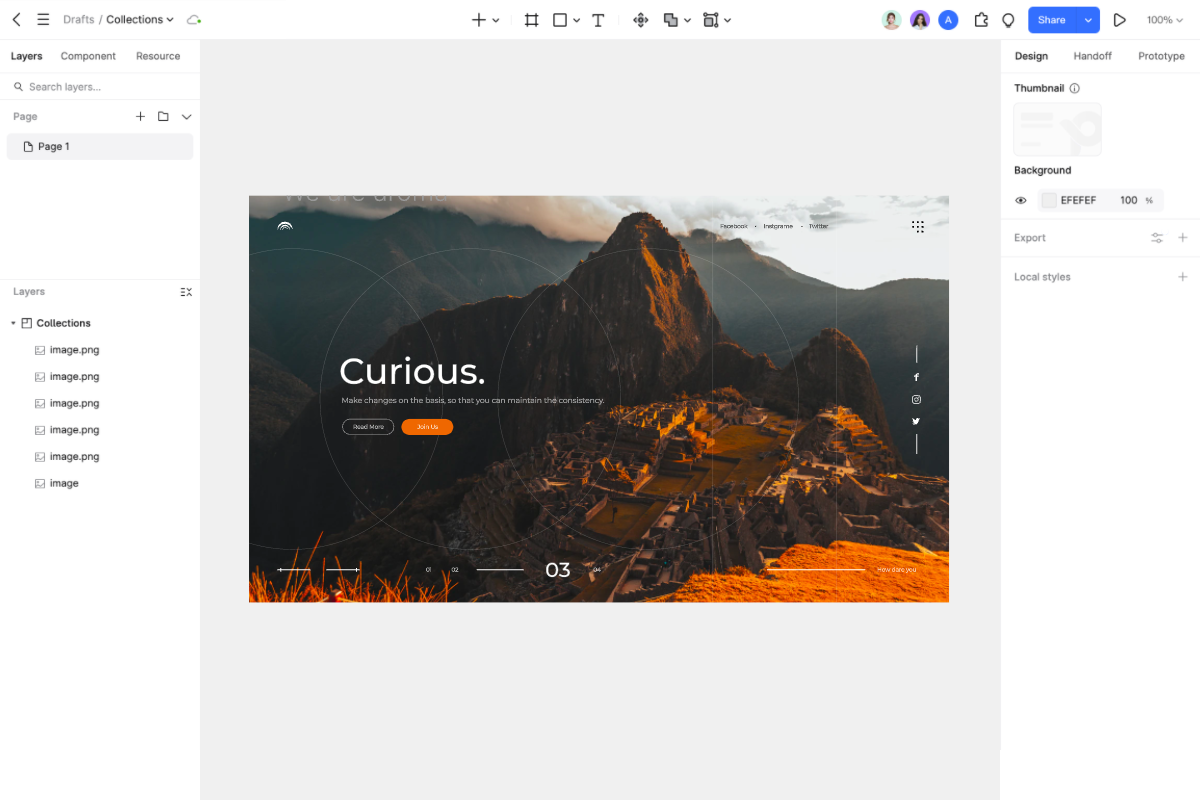
In Pixso, design the main bar together with its expanded sections and current-page states. If you are starting from an existing Figma or Sketch design, use the supported import workflow and check the resulting hierarchy and styles. Use realistic labels and destinations so reviewers can judge the information structure, not just the appearance of a row of links.
Place desktop and mobile versions next to each other, then connect the relevant prototype screens. Review whether a person can open the intended section, reach the target page, and return without losing context. Annotate keyboard behavior for development rather than assuming a visual prototype implements it.

Conclusion: Make the Next Destination Clear
Start with the task people need to complete, give destinations clear names, and show where each route leads. A navigation design succeeds when people can reach and revisit the right place—not when it fits an arbitrary menu-item count.