Scott
As collaborating with AI becomes an industry standard in UI/UX design, the Model Context Protocol (MCP) is gaining massive attention. Among Figma users, there is a growing movement to adopt MCP to maximize workflow efficiency. Today, we will break down everything from how to use and install Figma MCP to tips on leveraging Pixso as a powerful free alternative.
Part 1. What is MCP?
1. Definition of MCP
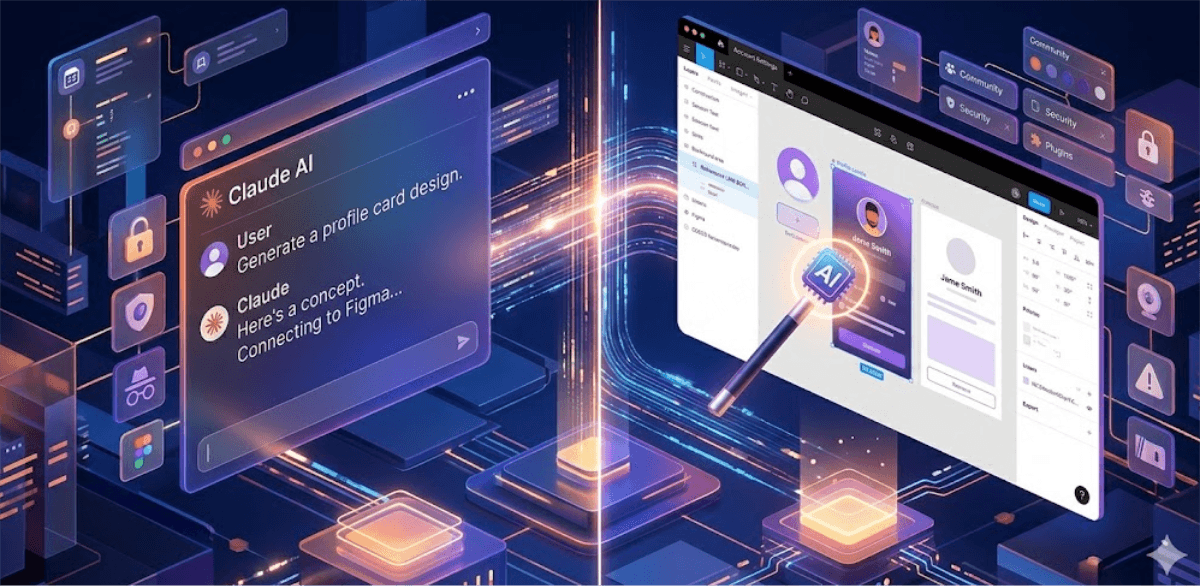
The Model Context Protocol (MCP) is an open-standard protocol that enables AI models to securely interact with external data sources and tools in real time. Simply put, it serves as a "standardized bridge" that connects AI (such as Claude) directly to the internal data of design tools like Figma, allowing the AI to access and understand your workspace seamlessly.
2. Differences between MCP and API (MCP vs API)
- API (Application Programming Interface): A method of exchanging predefined commands to execute specific functions. It operates on a strict one-to-one matching basis, much like saying, "If I request A, give me B."
- MCP: Goes far beyond simple function calls. It enables the AI to grasp the user's entire design context. It is significantly more flexible than a traditional API and highly advantageous for integrating and managing multiple tools under a single, unified standard.
3. The importance of MCP in design environments
When you prompt an AI during your workflow with, "Modify this button style to match our existing design system," having an MCP setup allows the AI to autonomously analyze the overall design guidelines of your Figma project and generate accurate results. In short, it drastically cuts down on repetitive manual tasks, giving you a true "context-aware design assistant".
Part 2. Figma MCP installation & usage guide
To utilize MCP in Figma, you typically set it up via Anthropic’s Claude Desktop app or related plugins. The basic Figma MCP installation workflow is as follows:
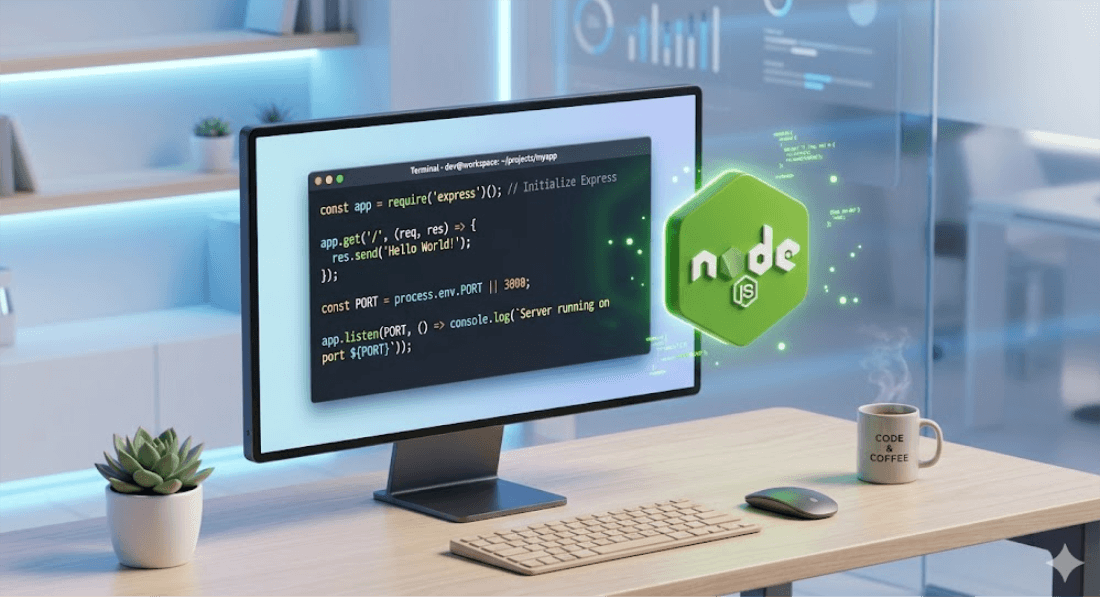
- Environment setup: First, ensure your PC has the necessary runtime environment (such as Node.js) installed to run an MCP server.
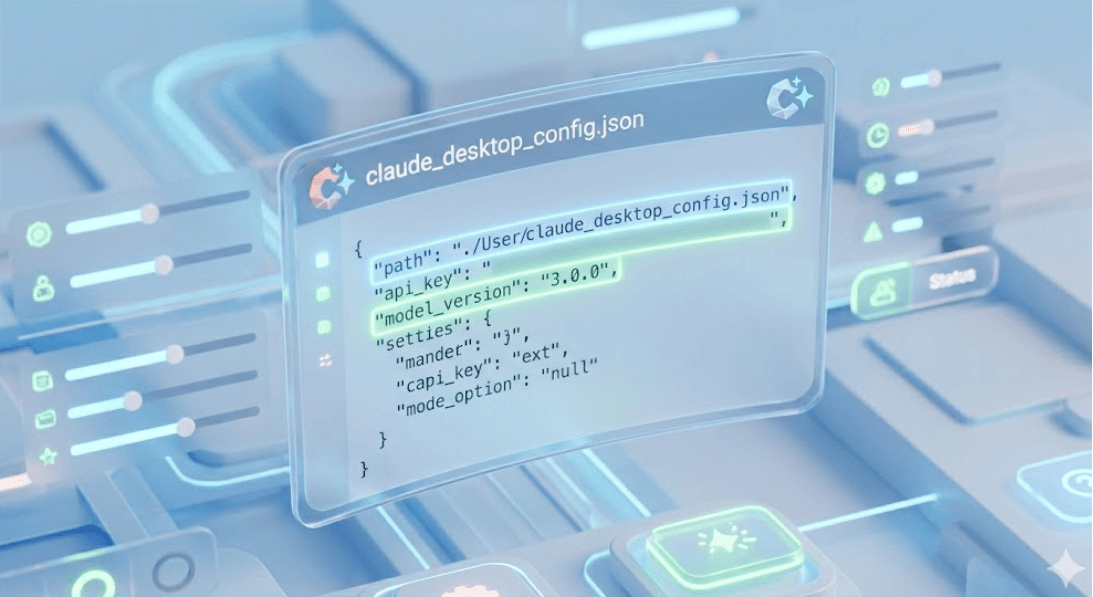
- Claude desktop configuration: Open the
claude_desktop_config.jsonfile and input your Figma API key alongside the MCP server path.
- Figma API integration: Generate a Personal Access Token in your Figma account settings and enter it into your MCP configuration.

- Execution & Verification: Restart the Claude desktop app, and you will see the Figma icon activated. You can now issue natural language commands to read or modify your design files.
For detailed, command-line-based instructions on how to use Figma MCP, referencing the official documentation of the specific MCP server you are utilizing (e.g., the figma-mcp GitHub repository) is the most accurate approach.
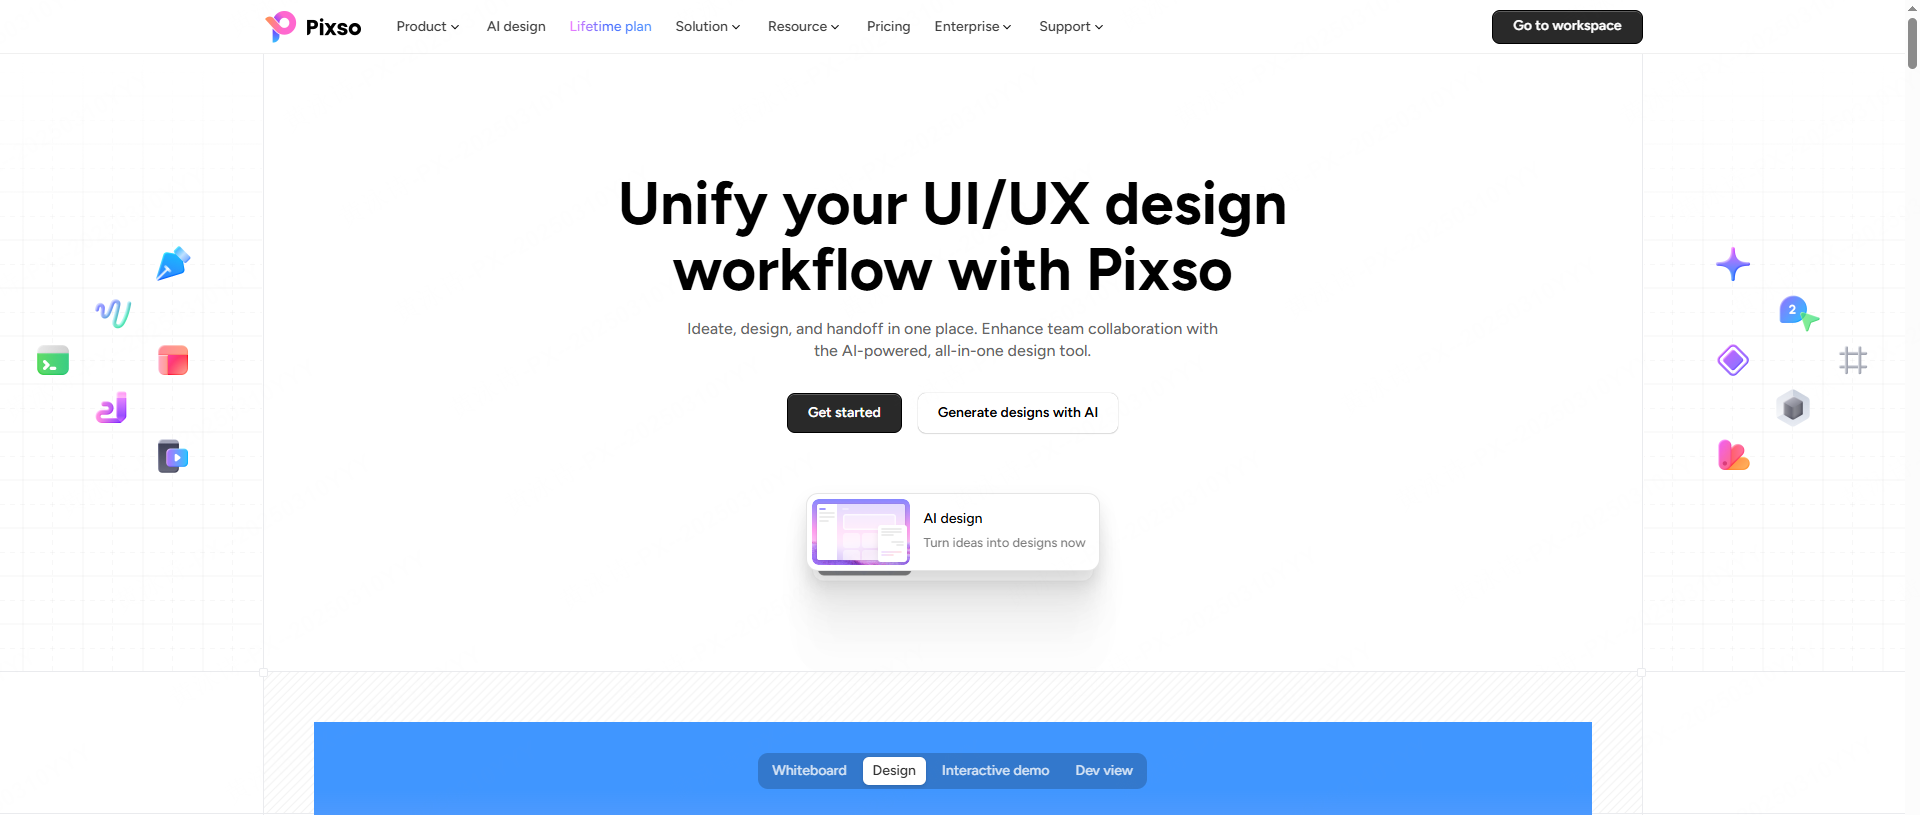
Part 3. Free alternative to Figma MCP: Pixso MCP installation & usage
If you are hesitant about Figma’s complex setups and premium plan limitations, the highly flexible and powerful Pixso MCP is an excellent solution. Pixso supports two distinct installation environments, making it incredibly easy for developers and designers to connect AI models.
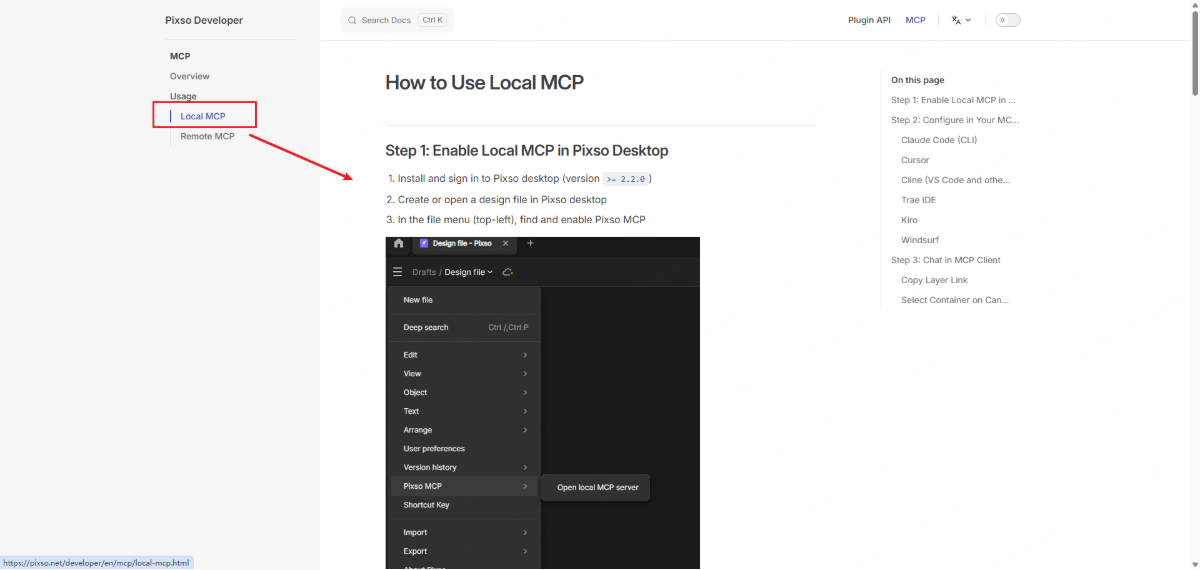
(1) Local MCP installation: running directly on your PC
Local MCP runs the server directly within your computer’s local environment. This method is ideal when data security is a top priority or when you want to test personal automation scripts.
- Core installation step: Install the MCP server package provided by Pixso in a Node.js environment, and synchronize your design context in real time via localhost.
- Advantages: It offers near-zero latency and allows the AI to securely learn and process design data without external exposure.
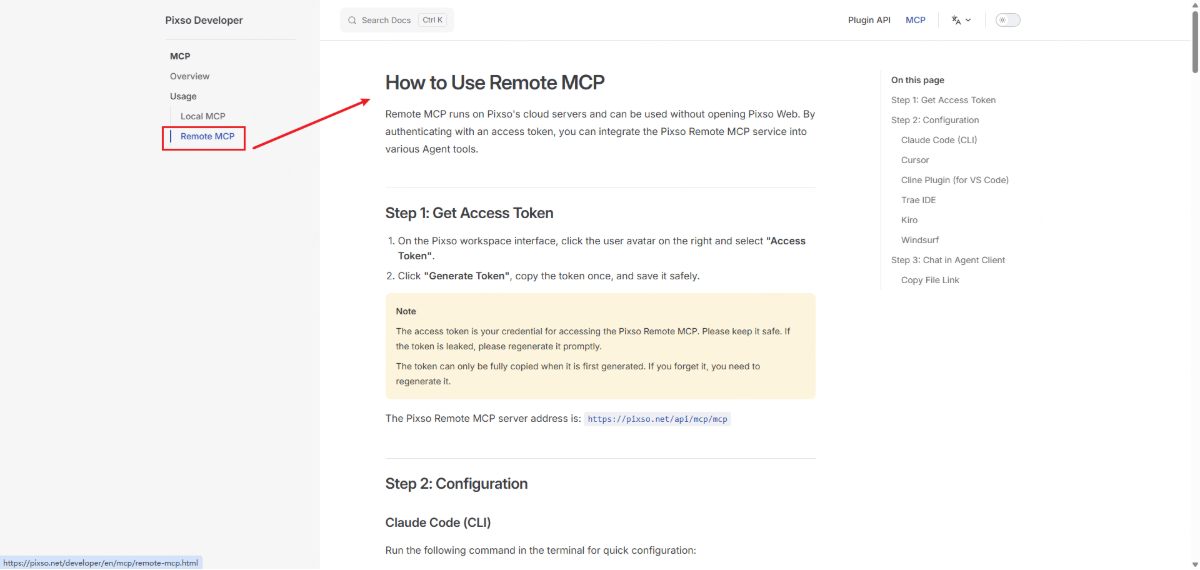
(2) Remote MCP installation: robust connection via a remote server
If you require team-level collaboration or a stable connection with high-performance AI models, the Remote approach is highly recommended. This is an advanced architecture where a separate server is deployed between the UI design tool and the AI.
- How to connect: Input the server URL and authentication key through Pixso's Remote MCP settings.
- Detailed guide: You can find comprehensive instructions on remote server setup and specific configuration parameters in the official Pixso Developer Documentation (Remote MCP).
Why choose Pixso MCP?
- Free alternative to Figma MCP: Experience the powerful capabilities of MCP without being constrained by paid subscription plans.
- Developer-friendly: Provides detailed API documentation and protocol guidelines, making custom server deployment a breeze.
- Flexible workflow: Freely toggle between Local and Remote environments, perfectly adapting to teams of any size.
Notice: Discover more details by checking out the official Pixso MCP installation guide.
Part 4. FAQ
Q1. Is using Figma MCP completely free?
While the MCP protocol itself is open-source, costs may be incurred depending on the AI model you connect to or your Figma API access tier. If you are looking for a completely free ecosystem, leveraging Pixso MCP is a highly strategic alternative.
Q2. Can designers without coding knowledge install it?
Setting up MCP for Figma may require some basic command-line (terminal) execution. However, GUI-based guides are increasingly becoming available, and Pixso’s setup is streamlined enough to install with just a few clicks.
Q3. Are there any security risks when using MCP?
MCP is fundamentally designed to allow strict data control within local environments. However, since it involves the use of API keys, you must always use trusted sources and practice secure access token management.
Conclusion
So far, we have explored how to use and install Figma MCP, along with how to leverage its free alternative, Pixso. MCP is far more than just a passing trend, it is a powerful tool poised to shift the paradigm of UI design workflows. Whether you prefer the established ecosystem of Figma or the cost-efficiency of Pixso, choose the tool that best fits your project needs. Streamlining your design process with AI will easily double your workflow speed. Install MCP today and kickstart your smart design life!