On this page

Scott
A product requirements document can explain the problem perfectly and still leave a team unsure what to build. Product managers describe outcomes, designers interpret workflows, and engineers discover edge cases during implementation. The gap is not caused by a lack of effort; it is created when the requirement stays in prose for too long. A well-structured PRD to UI workflow turns the requirement into a visible, testable interface before expensive assumptions harden.
Pixso is a strong fit for this stage because its Whiteboard files include structured tables for brainstorming, flowcharts, and PRD planning, while the editor supports UI design, prototyping, AI-assisted exploration, collaboration, and code delivery. This guide shows how to move from a PRD to an interactive UI without skipping discovery, accessibility, or engineering reality. For teams that need to keep these decisions close to the work, the Pixso prototyping workflow provides a shared place to review the related design context.
Part 1. Start by translating the PRD into design decisions
Do not open a blank canvas and start drawing screens. First, identify the decisions hidden inside the document. A PRD usually contains a user problem, a target audience, a desired outcome, functional requirements, constraints, and success measures. Each item should become a design question.
For example, “users can invite teammates” becomes several questions: Who can send an invite? What information is required? Can a user invite someone who already has an account? What happens when the email is invalid, duplicated, or blocked by a policy? The answers shape the information architecture and the states you need to prototype.
| PRD statement | Design question | UI evidence | Validation method |
|---|---|---|---|
| Users can save a draft | How do users know it is saved? | Status, timestamp, recovery state | Five-second comprehension test |
| Managers approve requests | What is visible before approval? | Queue, filters, decision detail | Scenario walkthrough |
| Teams work across regions | How does language affect layout? | Long labels, date and number formats | Localization review |
Capture these questions on a Pixso Whiteboard table beside the original requirement. The table becomes a shared contract between product, design, and engineering rather than a private interpretation held by one person.
Part 2. Map the user journey before the interface
A screen is a moment in a journey, not the journey itself. Draw the current state, trigger, action, decision, and outcome. Include what happens when the user does nothing, makes a mistake, or returns later. Flowchart structures are especially useful for exposing a missing state before it turns into a late engineering ticket.
In Pixso Whiteboard, invite the product manager and engineer to work on the flow at the same time. Use comments to ask for policy constraints and technical dependencies. If an API cannot return a value immediately, model the loading and retry experience now. If a permission varies by role, show the role boundary beside the branch.
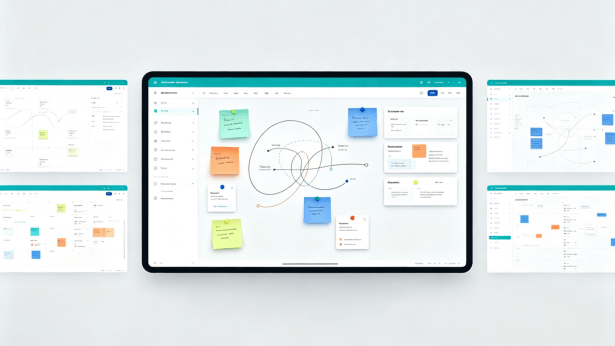
Keep the first map deliberately low fidelity. Boxes and labels make contradictions visible without encouraging the team to argue about color and spacing too early. Once the flow is stable, mark the minimum path that must become interactive for the first validation round.
Turn requirements into a state inventory before drawing screens
A requirement is not ready for UI work until the team can name the states that change the user’s decision. For each major task, write the inventory beside the flow:
| State | Question to answer | Evidence to prototype |
|---|---|---|
| Entry | Why is the user here and what context is already known? | Trigger, permissions, defaults, and required content |
| Progress | What can the user do while data or an action is pending? | Loading, disabled controls, cancel or retry behavior |
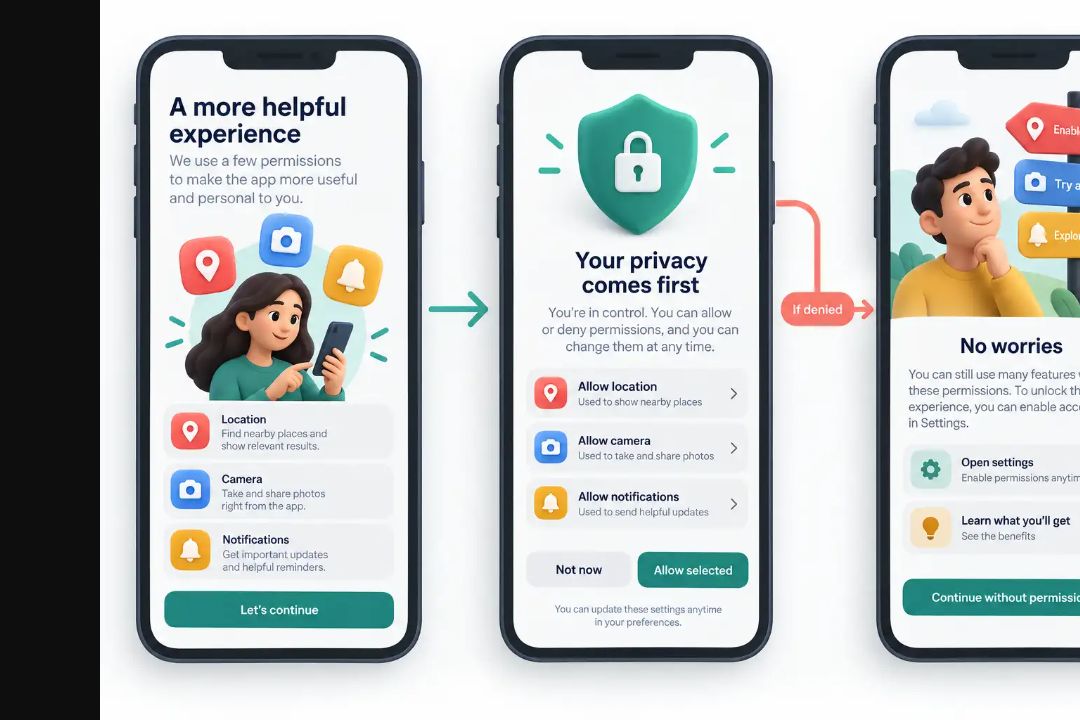
| Failure | What can be recovered and what needs escalation? | Specific error, preserved input, next action, and ownership |
| Success | How does the user know the job is complete? | Confirmation, saved state, follow-up action, and audit context |
Build this inventory in a Pixso Whiteboard table, then link each row to the screen or prototype state that answers it. The handoff becomes easier because engineering can verify behavior against named decisions rather than infer it from a polished happy path.
Part 3. Use a content-first wireframe to test comprehension
Many interface problems are content problems wearing a visual costume. Write the actual labels, helper text, empty states, and error messages before you polish the layout. A button called “Continue” might be correct in one step and misleading in another. A heading that works in English may wrap badly in German or Japanese.
Create a content-first wireframe with realistic lengths. Test the primary action, secondary action, confirmation message, and recovery copy. Use a simple hierarchy: page purpose, task context, input or choice, feedback, and next step. Ask someone who did not write the PRD to explain what they would do from the wireframe alone.
Pixso AI’s intelligent text tools can help translate, continue, polish, or summarize canvas copy while it is still editable. Use the output to explore alternatives, but keep the product owner accountable for terminology and legal wording. AI is useful for variation; the team still owns meaning.
Part 4. Move from wireframe to a visual direction
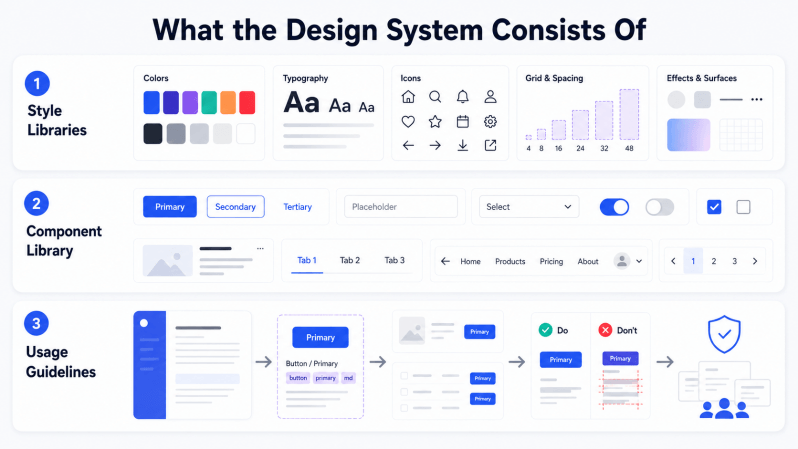
Once the flow and content are coherent, establish the visual language that will help users scan the page. Choose a type scale, surface hierarchy, action color, spacing rhythm, and state treatment. If the team already has a design system, use its components instead of inventing a parallel set.
Pixso lets teams consolidate components, styles, variables, and assets into a reusable design system. Pull the approved button, form field, navigation, and feedback patterns into the new flow. This reduces visual drift and gives engineers a clearer reference later. When a pattern is genuinely new, document why it exists and which existing component it extends.
For an early concept, Pixso AI text-to-design can turn a concise prompt into a visual starting point. For example: “Create a responsive approval queue for operations managers, with filters, clear status, and an empty state.” Treat the generated design as a hypothesis. Check hierarchy, accessibility, content density, and alignment with the PRD before keeping any part of it.
Part 5. Prototype the decision, not every pixel
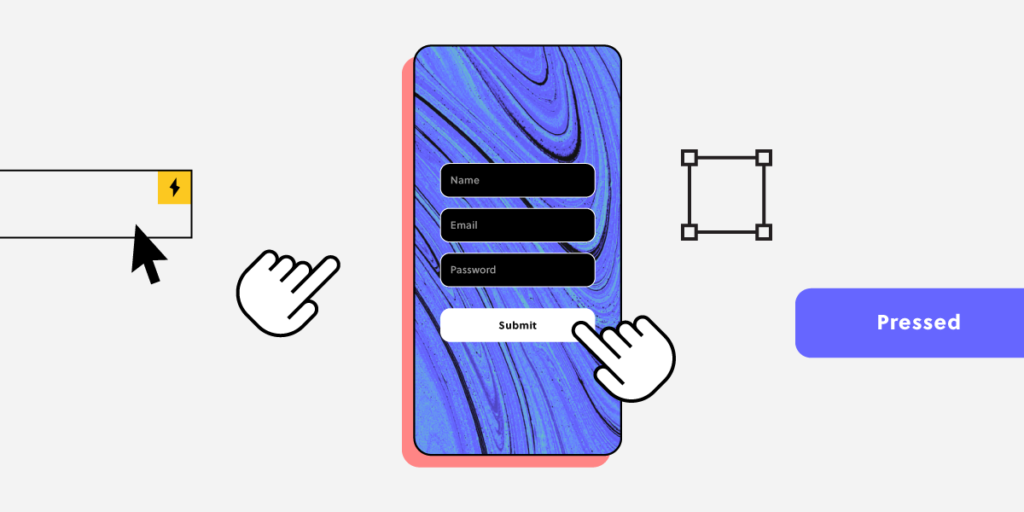
An interactive prototype should answer a question. If the question is whether managers can find the next request, prototype the queue, filters, and detail transition. If the question is whether a first-time user understands a new workflow, include guidance, validation, and a realistic completion state. Avoid wiring every navigation link just because the tool makes it possible.
Build the primary path first, then add the highest-risk alternate path. Use realistic data and include at least one long value. A layout that works only with short placeholder text is not a successful prototype. Connect states with clear transitions, and make the reset action easy to reach during testing.
Pixso’s prototype presentation supports collaborative review and comments. Ask reviewers to perform a task before you explain the solution. Their questions reveal whether the visual hierarchy and copy communicate the intended behavior.
Part 6. Bring engineering into the workflow before handoff
Engineering feedback is most useful while alternatives are still cheap. Share the flow and prototype link with the engineer who will implement the feature. Ask about data availability, permissions, responsive constraints, analytics events, and error recovery. If a proposed interaction depends on an API capability that does not exist, the team can choose a realistic fallback instead of discovering the constraint during sprint planning.
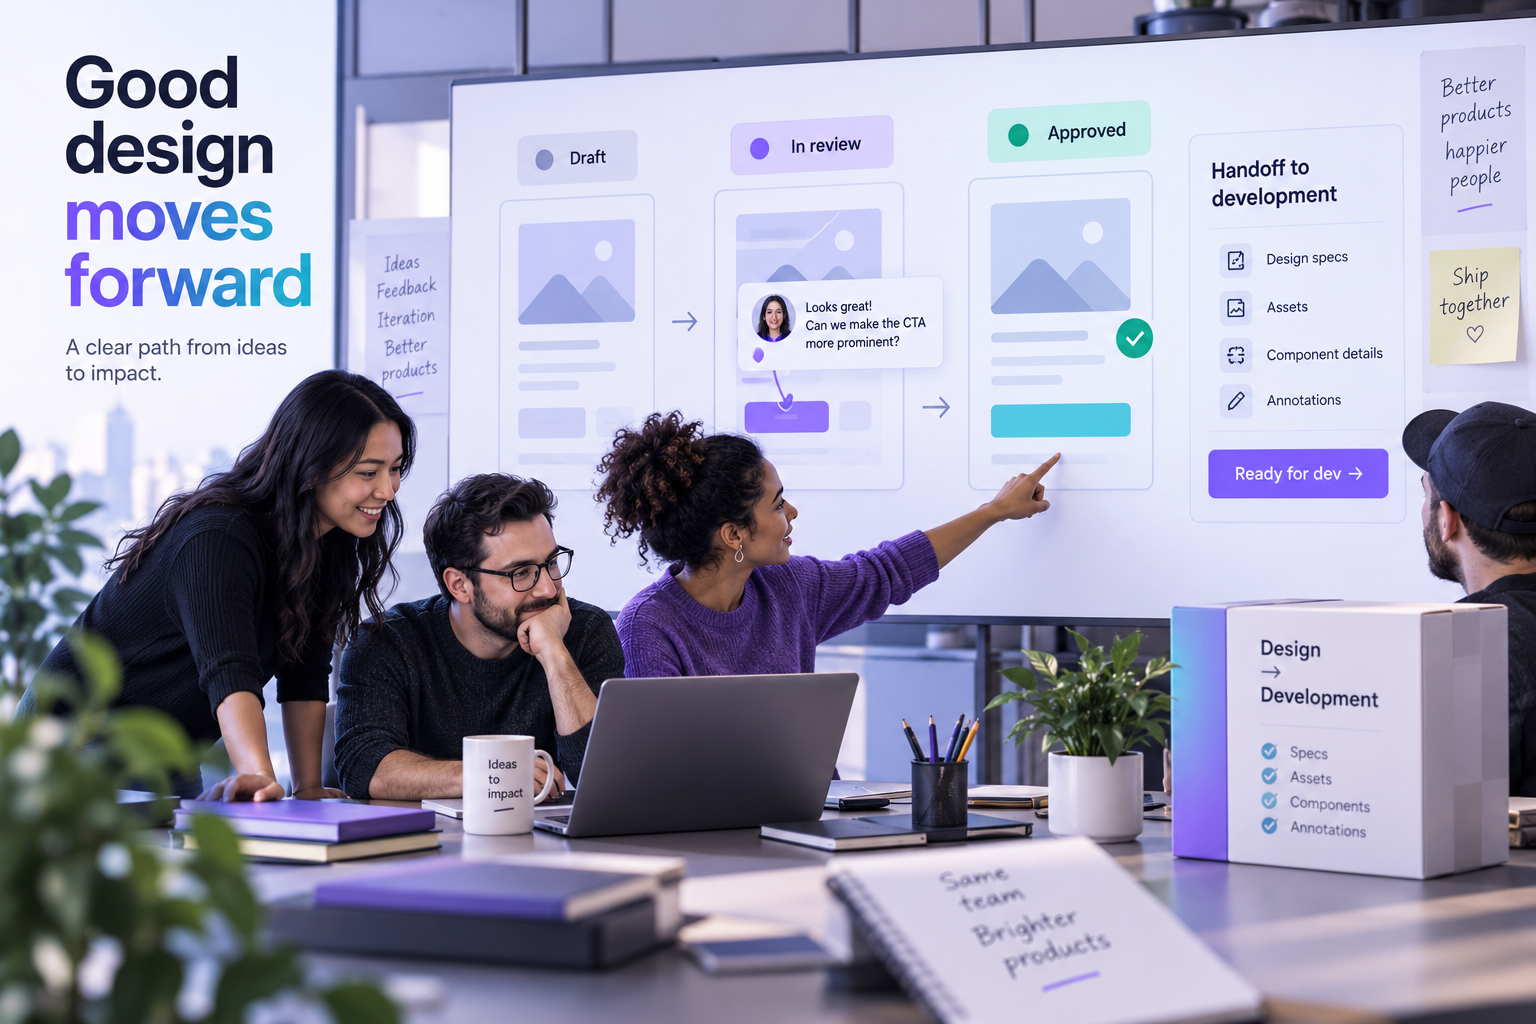
Pixso supports link sharing for preview, editing, comments, and annotations, so engineering can inspect the same source rather than a flattened export. Its design-to-code output can generate React, Vue, HTML, ArkUI, or Flutter code as a starting point. Use the generated result to discuss structure and naming, then let engineers refine architecture, state management, accessibility, and tests.
Part 7. Validate with a focused review loop
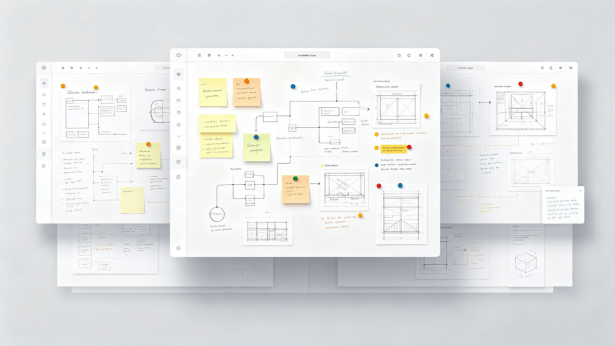
Run a review that is narrow enough to produce a decision. State the hypothesis, the task, and the evidence you need. During the session, record observations next to the frame rather than writing a general summary afterward. Separate usability findings from preference. “I would choose a different color” is a preference; “I did not see the error message” is a usability issue worth testing.
Use a simple severity model: blocks completion, causes hesitation, creates avoidable work, or is a later enhancement. Assign an owner and a date to every accepted issue. If a reviewer suggests a change outside the PRD goal, capture it in a parking-lot section instead of letting scope expand silently.
Pixso AI can support this loop with AI design checklists generated for a page type. Use the checklist as a prompt to inspect focus order, empty states, field validation, contrast, and responsive behavior. It should strengthen human review, not replace a usability session or accessibility audit.
Part 8. Prepare the handoff package
A strong handoff package answers the questions an engineer will ask without a meeting. Include the problem statement, user flow, final prototype link, component references, responsive rules, content decisions, known limitations, and open questions. Show what happens when the network is slow, when the user lacks permission, and when the data set is empty.
Keep links stable and use permission levels intentionally. A stakeholder may need comment access, while an engineer may need edit access to inspect a component. Keep a small change log so everyone knows which version was reviewed. If a requirement changes, update the PRD table and the interface together.
Part 9. Measure whether the PRD became a better product
The success of a PRD to UI workflow is not the number of frames produced. Measure whether uncertainty decreased before implementation. Track how many open questions were resolved, how many states were discovered before development, and how often engineering had to reinterpret a design decision. After launch, connect the original success measure to product evidence such as completion rate, support contacts, or task time.
Run a short retrospective after the first release. Which requirement was easiest to visualize? Which ambiguity survived into code? Did the design system help the team move faster, or did it lack a needed component? Use those answers to improve the next workflow, not to blame the person who wrote the first document.
Part 10. A repeatable PRD to UI checklist
- Extract outcomes, constraints, roles, and success measures from the PRD.
- Convert hidden assumptions into design questions on a Pixso Whiteboard table.
- Map the journey, permissions, empty states, errors, and recovery paths.
- Write realistic interface copy and test comprehension with a low-fidelity wireframe.
- Apply the shared design system, then explore alternatives with Pixso AI when useful.
- Prototype the highest-risk decision and test it with representative tasks.
- Review the link with engineering and record implementation constraints.
- Package the final flow, states, components, and open questions for handoff.
FAQ
Q1. Should the PRD be rewritten inside the design tool?
Keep the source of record your organization already trusts, but mirror the decisions that affect the interface in the Pixso Whiteboard or PRD table. This keeps design context close to the work without creating two competing documents.
Q2. When should AI generate a UI concept?
Use text-to-design after the user problem and flow are clear enough to describe. Earlier prompts tend to produce attractive but ungrounded screens; later prompts can help compare directions while the structure remains editable.
Q3. How much detail should a prototype include before engineering review?
Include the primary task, the highest-risk alternate path, realistic content, and important states. That is usually enough for engineering to identify constraints without forcing the team to polish every secondary screen.
Q4. What should be reviewed first when the PRD is incomplete?
Review the user goal, permissions, critical data rules, and failure recovery first. If any of these can change the main task, keep the item visible as an assumption or block the affected scope. Visual polish can wait; an incorrect rule cannot.
Conclusion
A PRD to UI workflow succeeds when requirements become visible decisions, testable interactions, and shared implementation context. Pixso connects Whiteboard tables, design systems, AI-assisted exploration, prototype review, and code handoff so teams can resolve ambiguity before it becomes rework. Keep the loop focused, invite engineering early, and let evidence guide the next iteration.