Sherry
An app prototype makes a proposed user flow tangible before the team commits to implementation. It lets people move between screens, interpret the labels and react to the feedback. Start with a question the prototype needs to answer, then build only the screens and states needed to investigate it.
Start with a question the prototype can answer
An app prototype earns its place when it reduces a specific uncertainty. Write the task in one sentence, identify the decision you need to observe, and include only the screens and states required to test it. For a booking flow, that may mean search, selection, confirmation, and an unavailable result—not every settings screen. Keep the original question beside the prototype so reviewers do not mistake polished visuals for validated behaviour.
- Define the task and success signal.
- Map the happy path plus one likely recovery path.
- Connect interactions and label the states under review.
- Run the task with a teammate or participant and log what changed.
This guide follows a booking flow from an initial sketch to a shared prototype in Pixso. The same approach works for registration, checkout or another focused task: define the goal, arrange the screens, connect the interactions and observe how people use them.
What an App Prototype Helps You Learn
A prototype can be a paper sketch, a simple clickable wireframe or a detailed interactive mockup. Choose the level of detail that reveals the problem. To test whether users can find a booking, clear navigation may be enough; to test a cancellation message, realistic dates, fees and button labels matter.
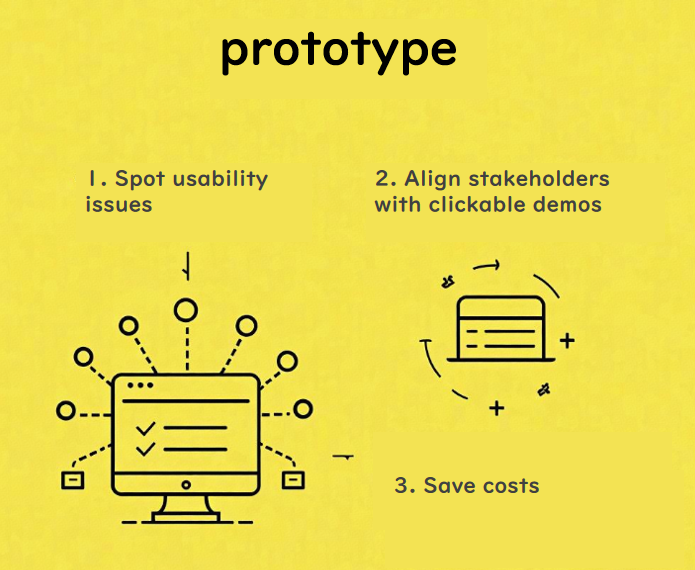
A focused prototype helps the team:
- Identify confusing navigation and missing feedback before implementation.
- Discuss the same flow using screens that people can explore.
Resolve design questions before spending development time on the affected screens.
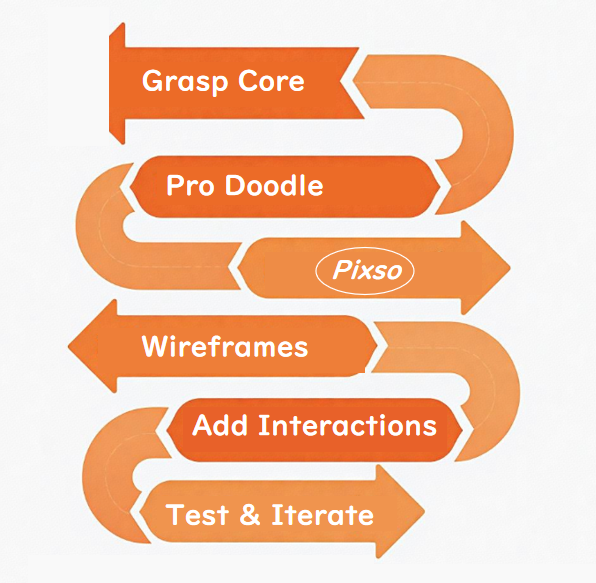
Use the following five steps to turn one user task into a prototype you can review.
How to Make an App Prototype in Five Steps
Step 1: Define the Task and Required States
Write the task from the user’s perspective: “Change my booking to another available time.” Identify where the task begins and what a successful result looks like.
- Define an observable outcome
For a booking change, look for whether a participant can find the booking, choose another time and understand the confirmation without help.
- Learn where users struggle
Review support questions and existing research, then speak with people who perform the task. Their vocabulary can help you name screens and actions.
- Identify the essential screens
Include the booking details, available times, a review step and a confirmation.
Add the states that could change the decision, such as no available times or a cancellation fee.
Step 2: Sketch the Screen Sequence
Draw a simple version of the flow before refining colors or typography.
- Compare possible layouts
Try different positions for the date selector, time slots and booking summary. Keep the same content in each version so the comparison is useful.
Use a separate sketch for an overlay or confirmation dialog, and show how it opens and closes.
- Connect the user’s actions
Mark what happens when a person chooses a slot, goes back or changes their mind. Include the route back from an error.
- Review the sequence with users
Give someone the booking-change task and ask them to work through the sketches. Observe where they pause or misunderstand an action before refining the layout.
Step 3: Build the Screens in Pixso
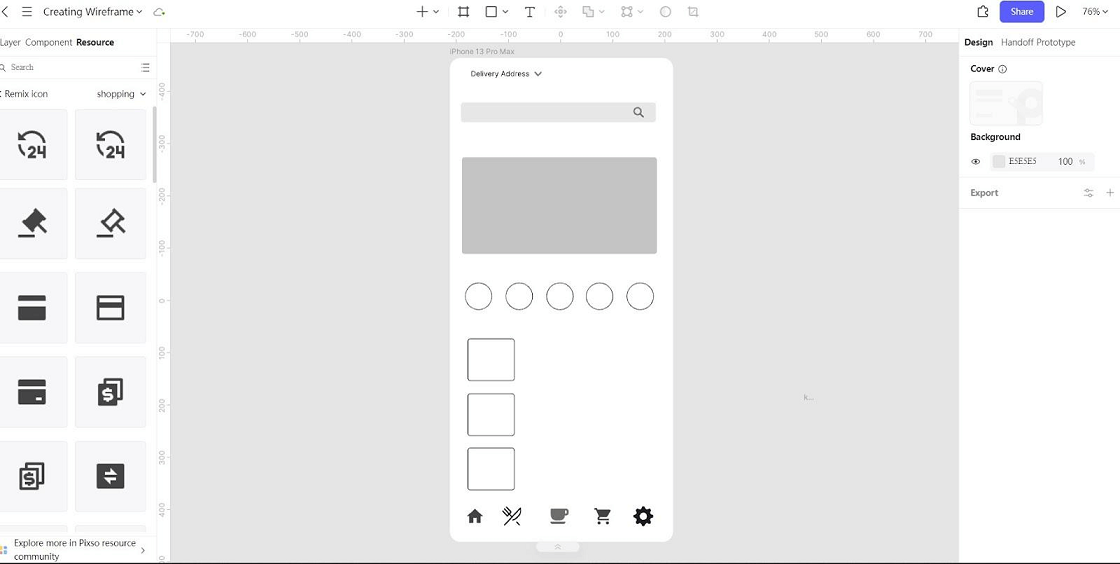
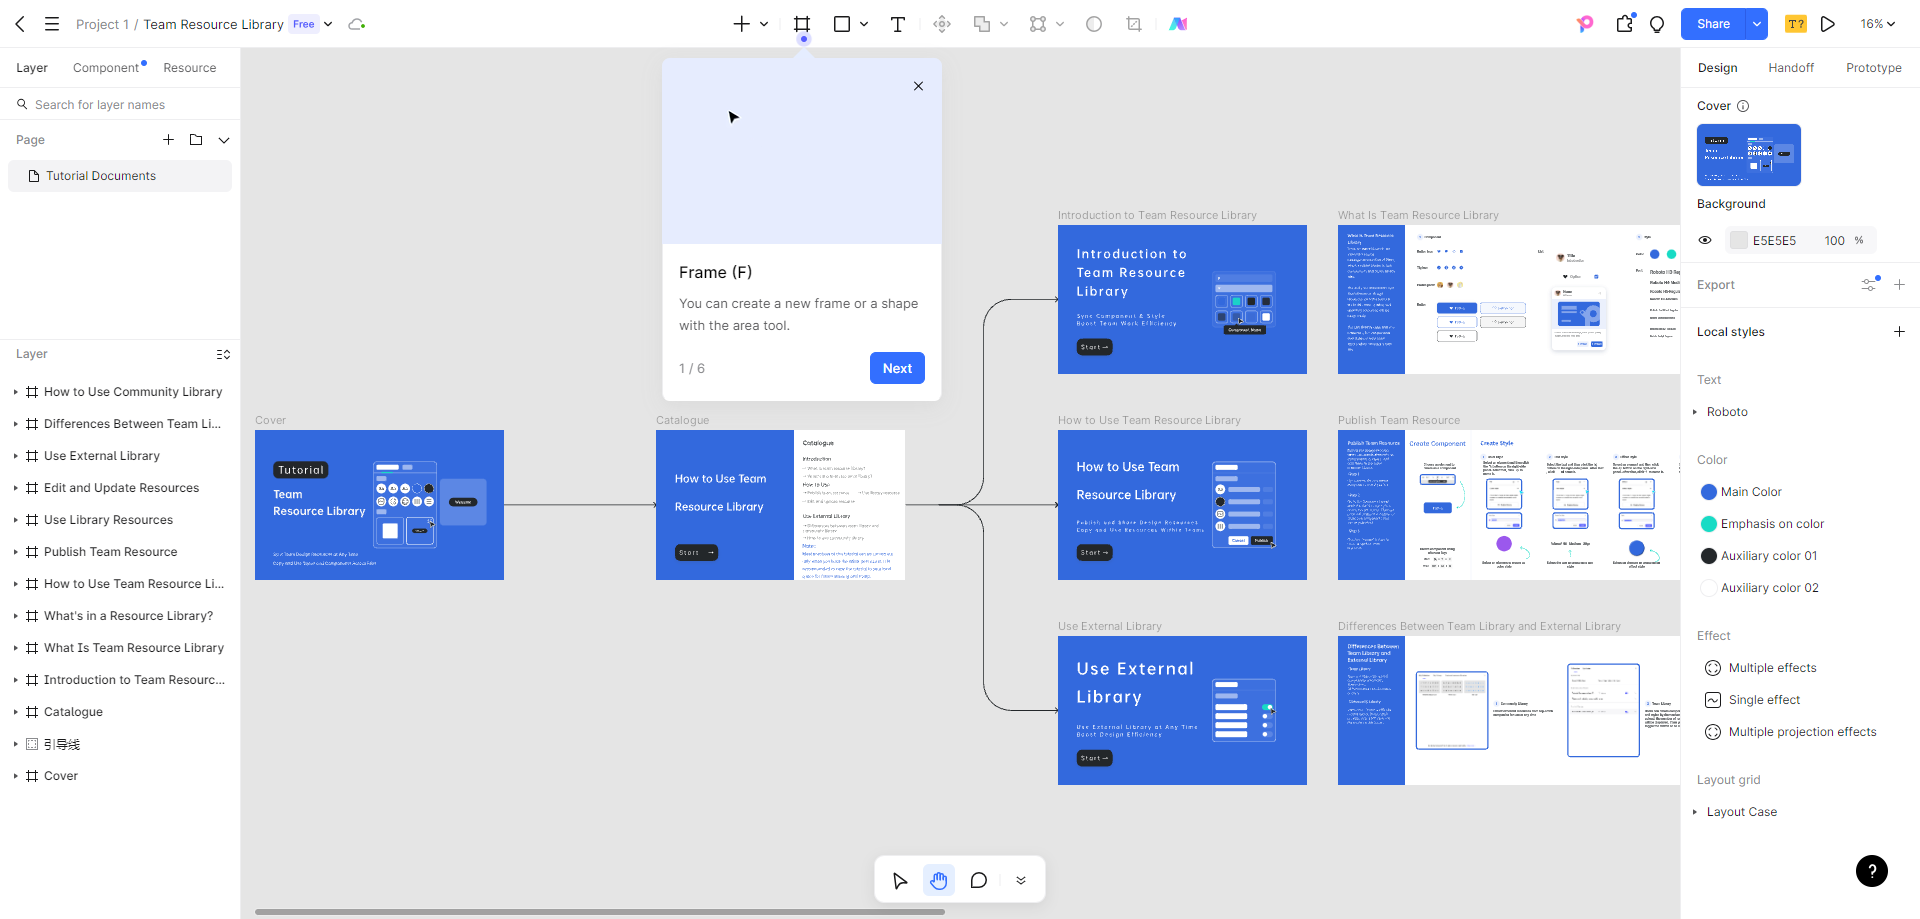
Create a frame for each required screen and use real labels from the task. Shared components help keep repeated buttons, inputs and navigation consistent as the design develops.

Set up the file: create frames at the intended screen size, name them by their role and arrange them in the order of the flow. Place a sketch beside a frame when it helps explain an early decision.
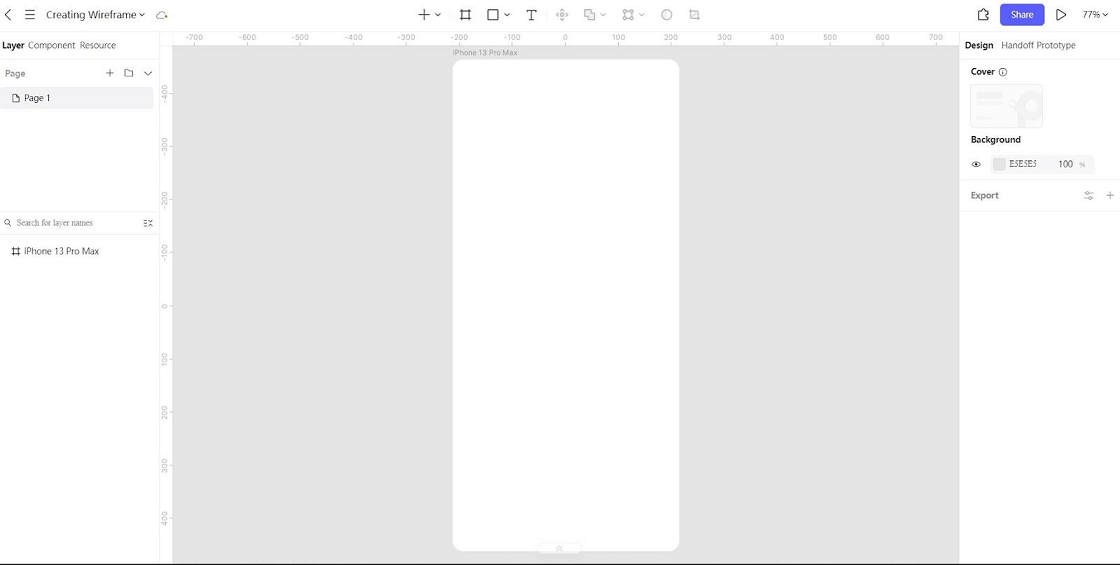
Build the layout: use components for repeated elements and Auto Layout to control spacing. Try a long date label and an empty result to see where the arrangement needs adjustment.
- Invite the team to review the file. Keep comments beside the relevant element so designers, product managers and developers can discuss the same state.
Step 4: Connect the Interactions
Link each primary action to its destination frame. Choose a transition that makes the change understandable, and set the starting frame for the flow.
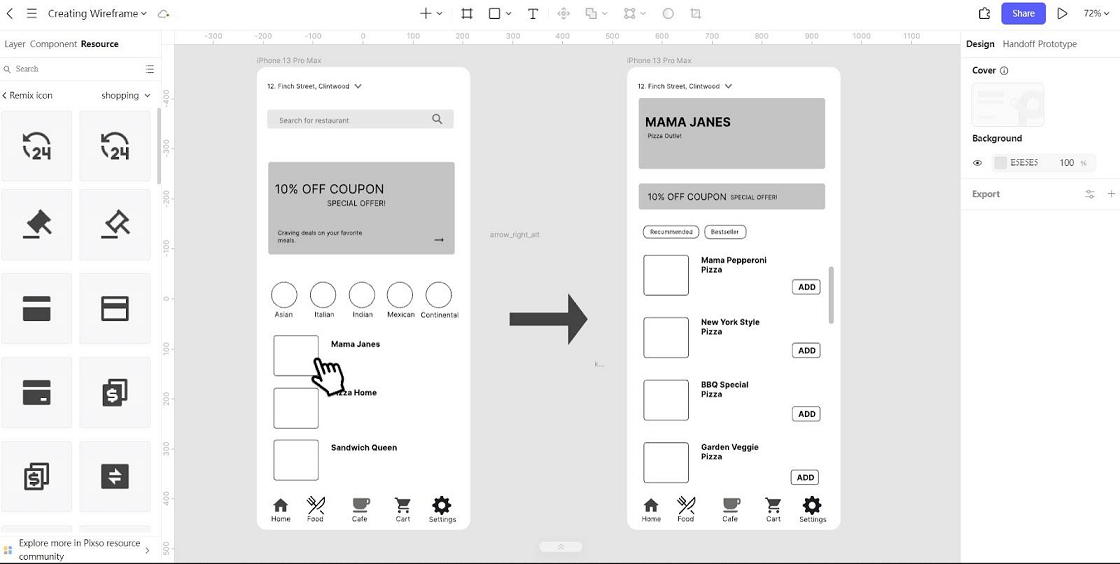
- Use triggers supported by the prototype controls for the interactions you need to test. Make the main action and the way back easy to reach on the target device.
Preview the flow from start to finish. Open the review link on the intended device to check screen size, navigation and access before the session.
Include the States That Affect the Task
For the booking flow, give particular attention to these points:
A selected time should look different from an available or unavailable one.
An error should explain what happened and how the person can continue.
Going back should return to a useful point in the flow without creating a dead end.
Explore interactive app prototyping in Pixso to bring these connections together and review what happens when a user moves between screens.
Step 5: Observe Use and Refine the Design
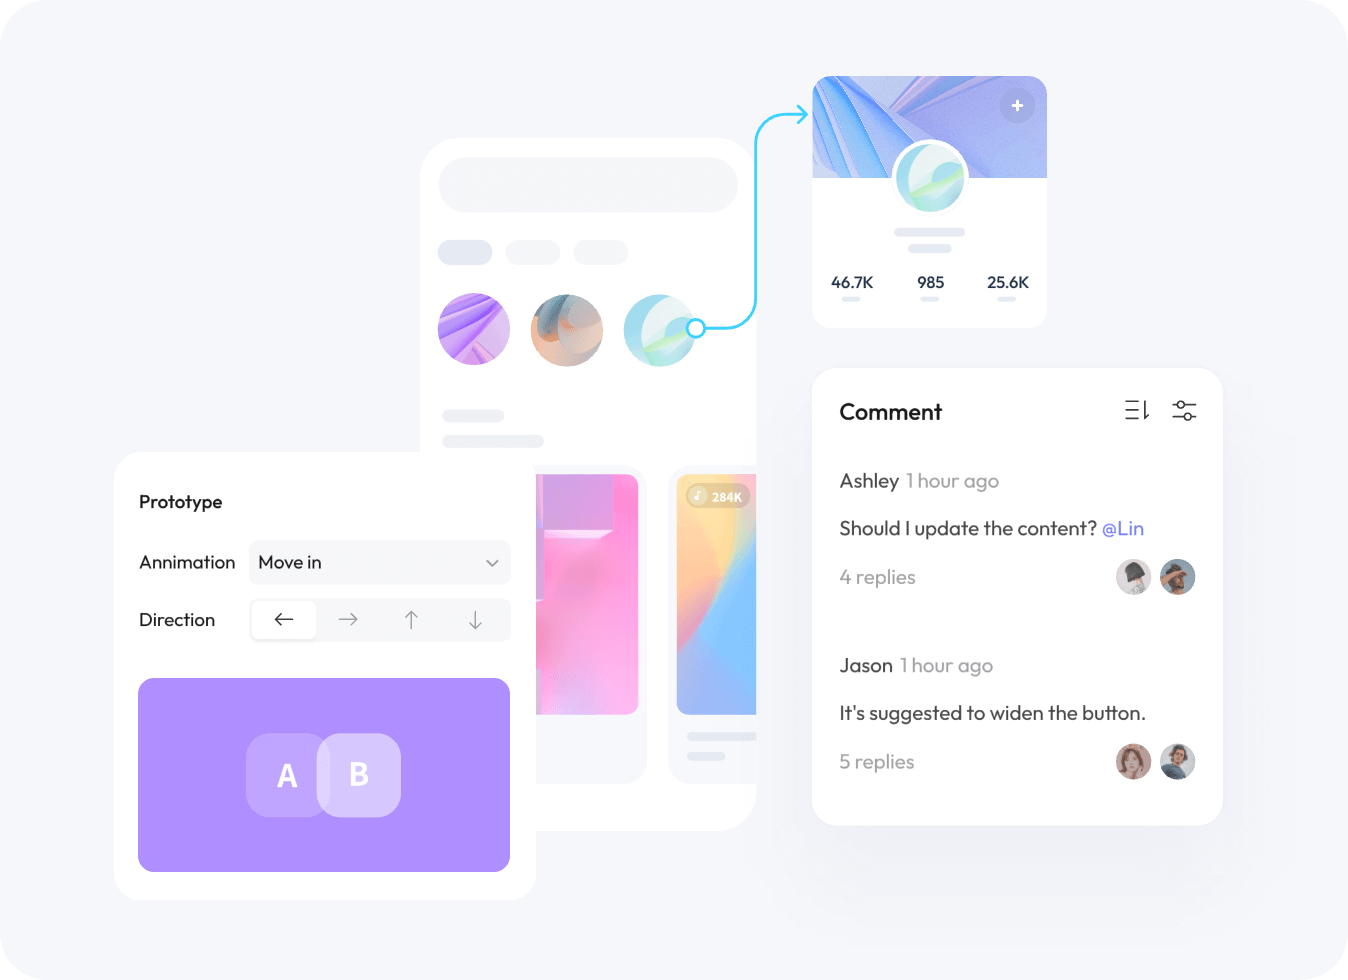
- Share the prototype with the permissions needed for the session. Give participants a concrete task, let them explore and collect comments about the screens they use.
- Record the route taken, points of hesitation and misunderstood labels. Keep observations in your research notes and attach actionable findings to the relevant screens. Review recordings from your chosen research setup when you need to examine an interaction more closely.
- Update the relevant components and states. Changes to a main component affect its instances in the same file; publish shared-library changes so other files can review and apply the update. Save a named version before a major revision.
Bring the Prototype into the Team’s Workflow
Use the reviewed screens to explain the intended behavior and prepare the next stage of work.
Developer handoff
Share measurements, typography, colors and exportable resources together with the states and transitions the feature needs.
Connected design and review
Keep the screens, prototype and design comments in the same project so the team can find the current reference.
Session preparation
Before meeting participants, open the review link and confirm that the device, connection and permissions support the planned session.
Start with One Useful Flow
Build the smallest prototype that answers the team’s current question. Use Pixso to connect the screens, make the important states visible and share the flow. Let the observations determine what to change before adding detail or expanding the prototype.